Introduction
When I started wearing wigs five years ago, the crown frustrated me the most. No matter how realistic the hairline looked, the crown often betrayed the wig's artificial nature. As a 3D printing hobbyist turned wig innovator, I set out to solve this. Today, I'm sharing the secret that combines old-school craftsmanship with cutting-edge technology.
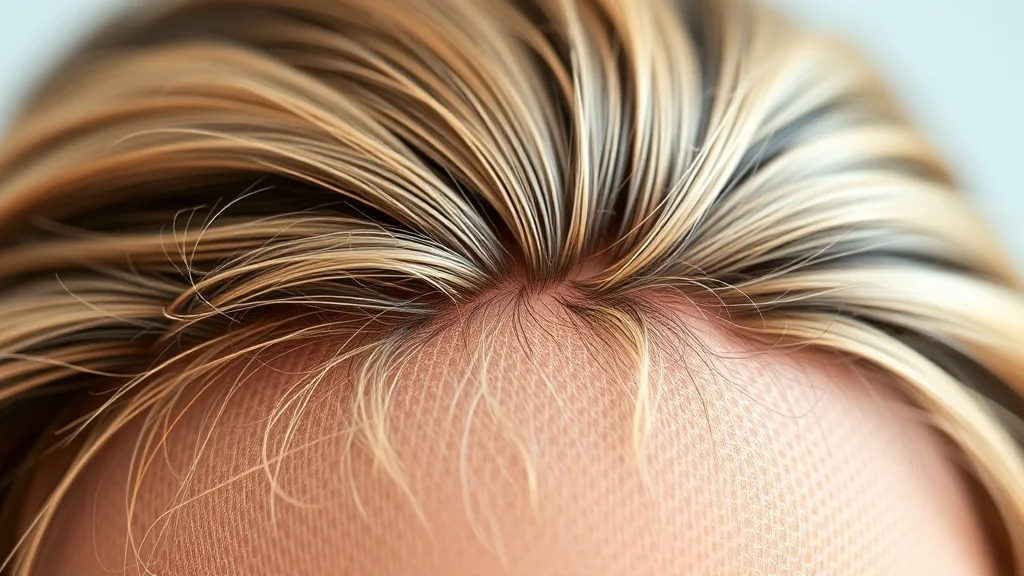
Why the Crown Is the Tell
Think about it: in natural hair, the crown is where hair swirls and changes direction. It's also where the scalp is most visible when hair is parted. Most wigs fail here because they use wefts that create flat, uniform rows. The result? A doll-like appearance. To achieve realism, we must replicate nature's chaos.
Traditional Approaches: Good, But Not Perfect
- Hand-tying each hair into lace for a natural direction
- Using monofilament tops that mimic scalp
- Silicone bases that adhere to the scalp
- Limitations: time, cost, still not 100% custom to your swirl
Enter 3D Printing: The Game Changer
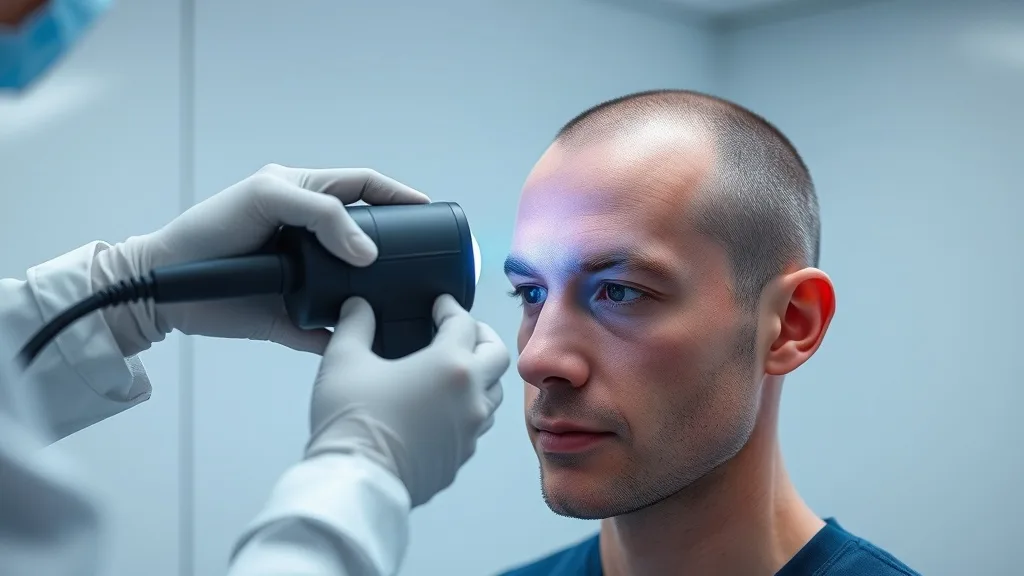
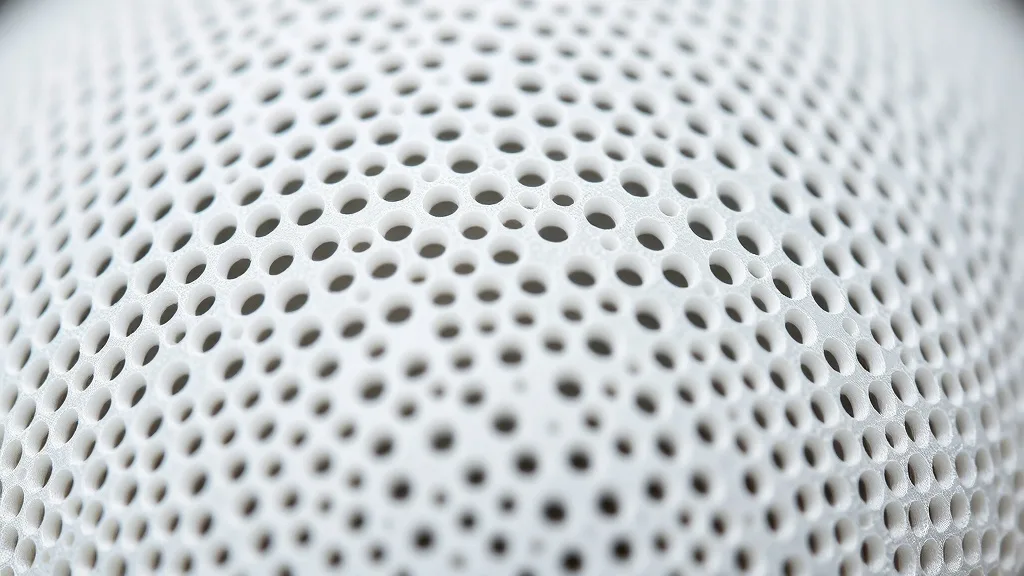
I used a 3D scanner to map my customer's scalp in minute detail—every whorl, every parting. Then I designed a custom base that perfectly matches their growth patterns. The base is printed with a flexible material like TPU, with tiny holes that guide hair insertion in the exact direction of natural growth.
Step-by-Step: My Secret Method
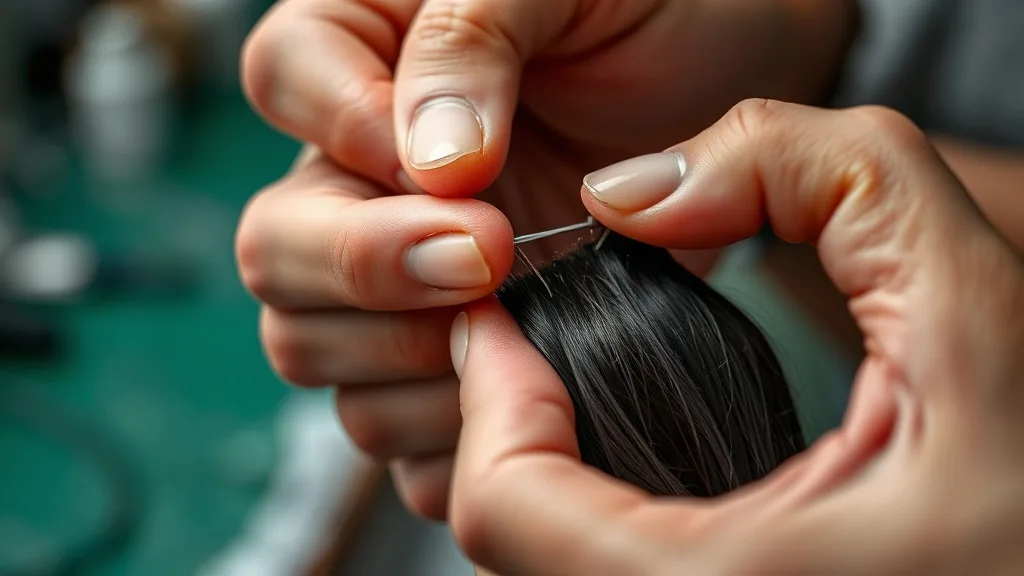
1. Scan the client's scalp with a structured light scanner. 2. Import the mesh into CAD software. 3. Design a base that follows the topography, with graduated density. 4. 3D print it on a high-resolution printer. 5. Hand-tie premium human hair into each hole, aligning with the scan. 6. Finish with a sheer lace front.
Materials and Tools
- Flexible TPU filament for comfort and realism
- High-quality remy human hair
- Fine needles for ventilation
- Precision 3D printer with 50-micron resolution
Styling for Invisibility
Even with a perfect base, styling matters. Avoid heavy product buildup near the crown. Use a boar bristle brush to blend. If you have a custom 3D-printed crown, you can even change your part without losing realism.
The Future of Natural Wigs
As 3D printing becomes more accessible, every wig wearer can have a crown that's uniquely theirs. The secret isn't just in the hair—it's in the foundation. Whether you buy from Wigplace or build your own, demand innovation where it counts.