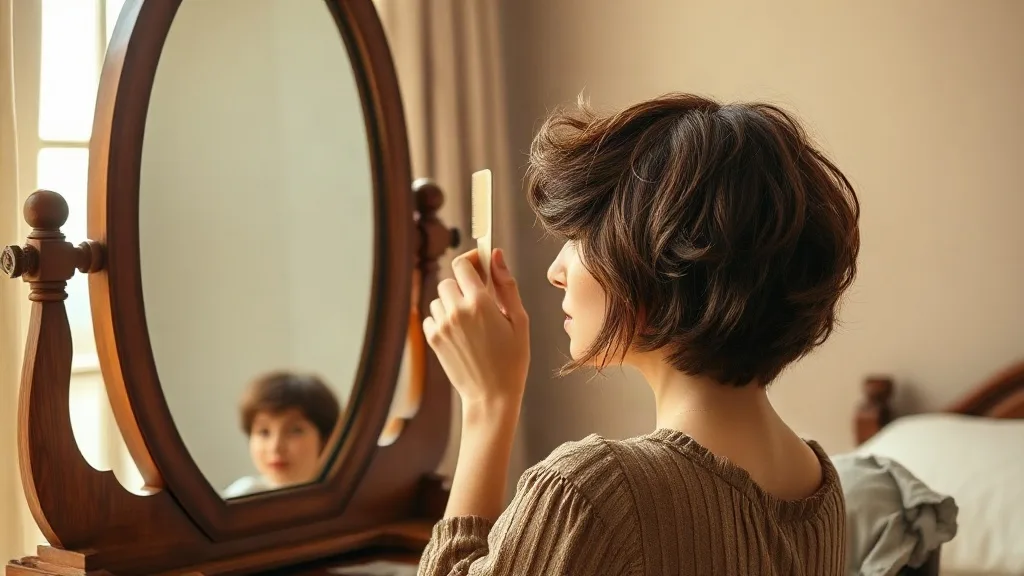
I own eleven wigs. If you asked me which one has taught me the most, it would not be the long lace front I wore for three weeks while playing a lounge singer. It is the pixie. Short hair is honest in a way long hair never has to be. There is no curtain of length to drape over a visible lace edge, no shoulder-length fall to distract from a lifted nape. Every choice you make, from the cap you buy to the way you set the thing down at night, shows up on your face in the mirror the next morning. That is terrifying. It is also exactly why a pixie wig is the most satisfying piece in my collection. When it is right, it does not read as a wig. It reads as a decision you made about yourself.
Why the Pixie Is the Most Demanding Wig You Will Ever Own
Long wigs forgive. They forgive a slightly loose cap, a bit of frizz, a part that is two millimetres off. A pixie forgives nothing, because there is nowhere to hide. The hairline is fully exposed. The nape is fully exposed. The density has to be believable at the ear, which is where cheap wigs give themselves away. And because the style sits close to the skull, any slippage is instantly visible as a hairline creeping backward like a tide going out.
The upside is that a pixie is also the fastest wig to wear. No detangling. No drying for two hours. No wrestling a long layer into a style that survives a commute. Once you understand your particular piece, you can go from bare head to stage-ready in under five minutes. That trade, high demands for high speed, is the whole game. Everything below is about paying the demands so you can cash in on the speed.
Step 1: Know Your Canvas Before You Style Anything
You cannot style a wig correctly until you know what it is made of and how it is built. The fibre determines your heat limit and your washing routine. The cap determines how natural the hairline looks and how well the piece stays put. Get these two things straight and half the troubleshooting advice online becomes irrelevant to you.
- Human hair pixies: restyleable with real heat, take colour, but dry out and need moisturising every few wears. The most forgiving for texture work, the least forgiving for neglect.
- Standard synthetic: the curl and lift pattern is baked in at the factory and returns after washing, but direct heat will melt or frizz the fibre permanently. Style with steam, rollers, and finger work instead.
- Heat-friendly synthetic: usually rated to around 180 C or 350 F. You get some wand and iron freedom, but always test a hidden section at low temperature first.
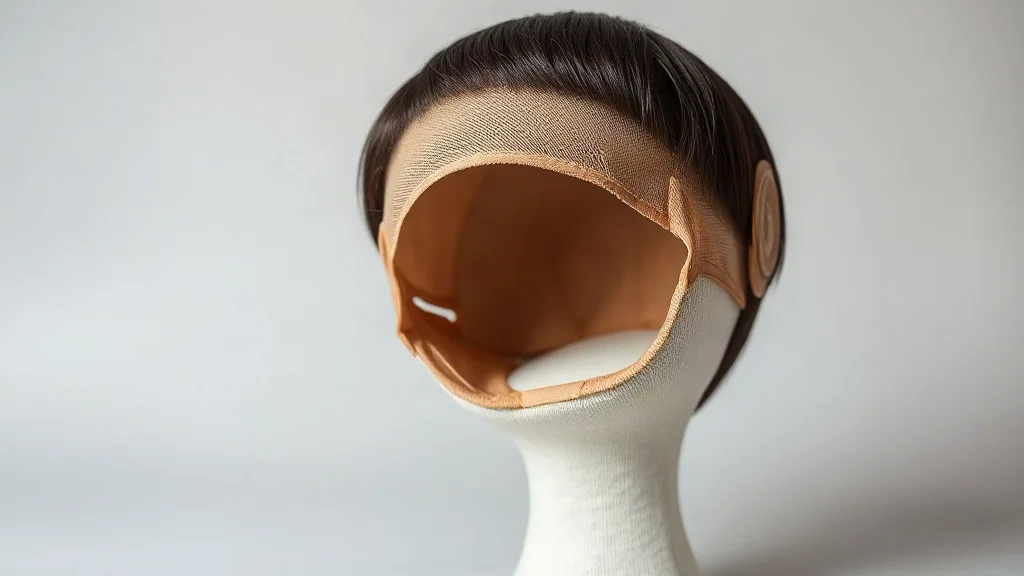
- Lace front caps: give you a soft, pluckable hairline. Essential if you intend to wear the hair off your forehead.
- Monofilament or silk top: a hand-tied sheer base that lets you part anywhere and looks like scalp. On a pixie, where the part is the focal point, this matters more than on any other style.
- Basic or open-weft caps: lightweight and breathable, great for volume, but the wefts show if you try a deep part or pull the hair back.
- Ear tabs and adjustable straps: non-negotiable. A short wig that is even slightly loose will ride up and expose your own hairline within the hour.
One more canvas note: measure your head before you buy, and measure it twice. Pixies fit snugly by design. If you are between sizes, size up and use the straps rather than buying tight and hoping it relaxes. It will not relax. It will give you a headache and a red line across your forehead by the second act.
Step 2: Build a Pixie Kit That Fits in One Pouch
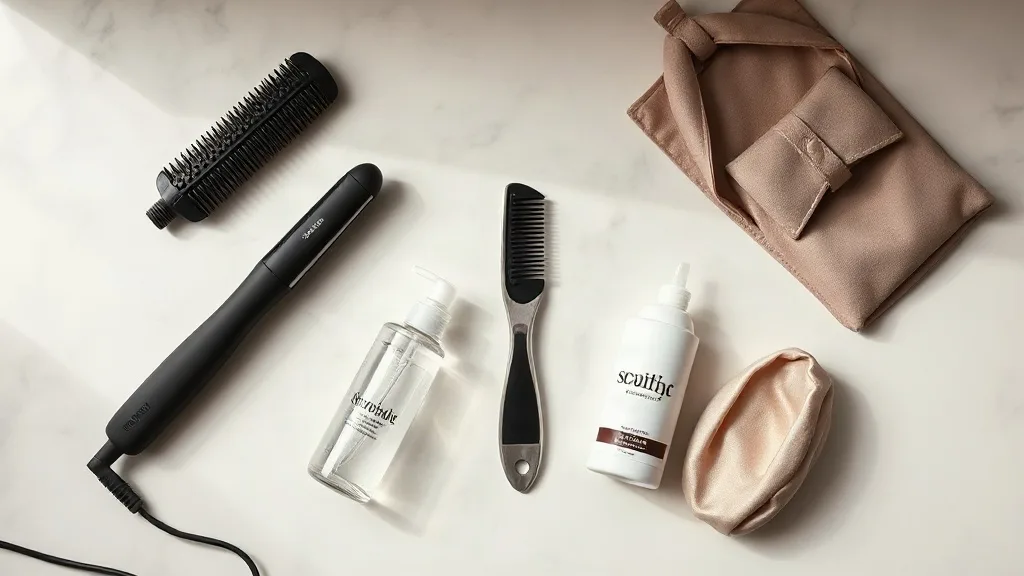
You do not need a salon. You need six things, and they should live together so you can grab them in the dark before a show.
- A fine-tooth comb and a small vented brush. Wide-tooth combs are for long wigs; a pixie needs precision.
- A spray bottle of plain water. Most pixie restyling is just water, heat, and patience.
- A one-inch flat iron or a small tapered wand for flipping ends and softening the fringe.
- A lightweight texture spray or sea-salt mist. Aerosol hairspray on a pixie builds up fast and dulls the fibre.
- A dry shampoo or fibre refresh mist for between washes, especially on synthetic.
- A wig stand or canvas block that matches your head size, plus a satin bonnet and a satin-lined bag.
Step 3: The Five-Minute Daily Refresh
This is my pre-show routine and it has never failed me. Work through it in order and resist the urge to skip to the heat.
- Mist lightly. Two or three pumps of water across the crown and fringe, never soaking the cap. Synthetic springs back to shape; human hair needs the moisture to behave.
- Shake and lift. Hold the wig by the ear tabs and shake gently. Then use your fingertips to lift the roots, pushing upward from underneath rather than combing down. Pixie volume lives at the root.
- Comb the fringe forward and the sides back, following the direction the fibre was cut to fall. Fighting the cut is the single biggest cause of a wig looking wrong.
- Spot-heat only what needs it. A quick pass at the ends, or a small section of fringe bent with the iron, is usually all that is required.
- Set with a light mist of texture spray at arm's length, then do not touch it for a full minute while it dries. Touching wet product is how pixies go stringy.
- Place and check the hairline in a mirror under the same lighting you will be seen in. Overhead bathroom light lies to you. So does the car mirror. Trust daylight.
Step 4: Five Pixie Characters You Can Style in Ten Minutes
Because I use wigs to play characters, my styling is always aimed at a person rather than a trend. Pick a character before you pick a product. It focuses the work and stops you over-handling the hair, which is the most common way a pixie wig gets ruined.
- The Sharp Executive: deep side part, sleek sides combed flat against the head with a tiny amount of light serum, fringe swept across and slightly lifted. Discipline is the character.
- The Textured Ingénue: wet-look mousse or a water and salt mix through the crown, scrunched with fingers, left to air dry. Deliberate mess, but only on top.
- The Punk: this is your heat day. Spike the crown with the flat iron, add a wispy fringe, and keep the sides tight. Work in very small sections or it collapses.
- The Vintage Screen Siren: soft finger waves pressed into the front and a gentle outward flip at the ear. Use a setting lotion and pin while damp, then release once dry.
- The Off-Duty Artist: brush everything forward, cap-free and slightly flattened, with two messy pieces behind the ears. It should look like you did nothing, which takes the most practice of all.
Step 5: Washing a Pixie Without Killing It
Pixies get washed less often than you think. You are not fighting a greasy scalp because it is not your scalp, and every wash on a short style loosens the shape and stresses the cap. On synthetic, wash every eight to twelve wears. On human hair, every six to ten wears, or whenever product build-up makes the fibre feel stiff. Always use cool or lukewarm water. Hot water sets frizz and can lift the knots on a hand-tied cap.
- Comb the wig dry and detangled before it goes anywhere near water. Never comb a wet pixie from the roots down.
- Fill a basin with cool water and a capful of sulphate-free shampoo. Swirl the wig gently. Do not scrub, wring, or bunch it.
- Rinse by dipping and lifting in clean cool water. Never hold the wig under a running tap, which mashes the fibre and distorts the cut.
- Condition the ends and mid-lengths only. Keep conditioner away from the cap, the knots, and the hairline, where it causes slipping and dulls the lace.
- For human hair, finish with a light leave-in conditioner. For synthetic, use a dedicated synthetic conditioning spray, not a rinse-out.
- Squeeze water out inside a towel. Do not rub. Never wring a wig, and never hang a wet wig by its hair.
Step 6: Drying and Reshaping, Where Pixies Are Made or Broken
This is the step people rush, and it is the step that determines everything. A pixie dries into whatever position you leave it in, so you have to leave it in the right position on purpose.
- Place the wig on a wig stand or canvas block that matches your head size, not a narrow one, or it dries stretched out of shape.
- Finger-comb the fringe, sides, and crown into their final direction while damp. Fix the part now. It will not move easily later.
- Air dry whenever you can. If you need speed, use a dryer on the lowest heat and the lowest airflow, holding it at least twenty centimetres away and moving constantly.
- For human hair, use a small round brush at the fringe and a vented brush at the crown, drying the root upward to build lift.
- Once dry, do not brush. Break any cast or stiffness with your fingers and a light mist of texture spray.
- Let the piece rest on the stand for at least an hour before wearing so the shape sets fully.
Step 7: Heat Rules for Short Wigs
Short hair means short fibre, and short fibre heats up fast. On a pixie you are working with small sections that can scorch in a single second, so keep your iron low and your passes quick. On human hair, 150 to 170 C is plenty for most texture work. On heat-friendly synthetic, stay at or below the manufacturer's stated limit, usually 180 C, and mist the section lightly first.
- Never use heat on standard synthetic fibre. It will not bounce back.
- Always test on a hidden section under the back of the cap before you touch the front.
- Work in small, clean sections and pass once. Repeated passes on the same piece are how you create a permanent kink.
- Let each section cool completely before you move it. The shape sets as it cools, not as it is ironed.
Step 8: Storage, Sleep, and Travel
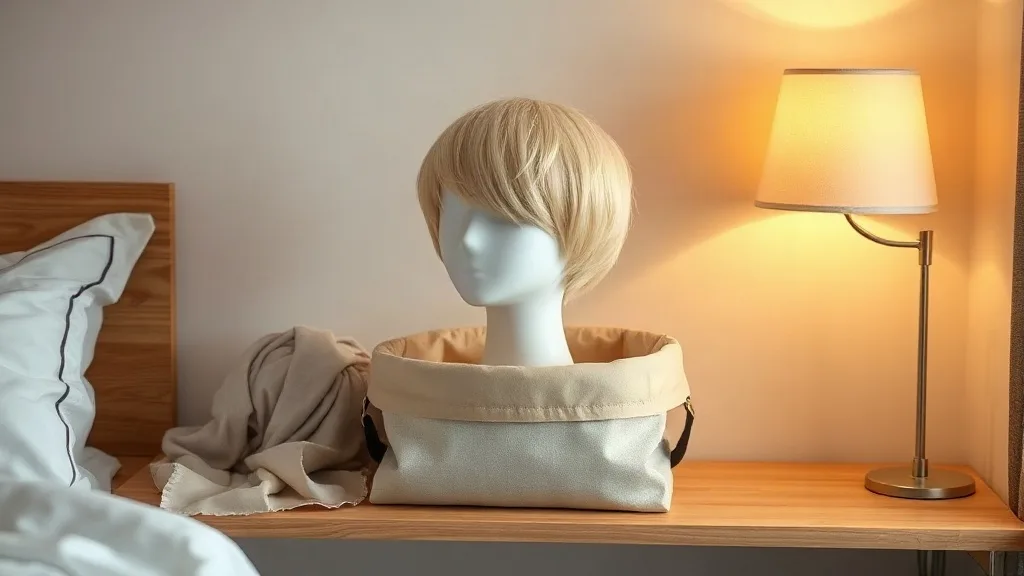
- Store on a stand or block in a satin-lined bag. Never stuff a pixie into a drawer, where the fringe takes on whatever shape the drawer decides.
- Never sleep in your wig. If you must, a satin bonnet will reduce friction, but the nape and the part will flatten, and you will spend your morning fixing what a night on a pillow undid.
- For travel, turn the wig inside out, place it in a satin bag, and put it in a hard box or the centre of your case where nothing presses on it. A pixie crushed in transit will need a full wet reshape.
- Keep wigs away from direct sunlight and radiators. Both fade colour and dry out human hair fibre.
A Simple Pixie Maintenance Calendar
- Every wear: quick mist, shake, lift the roots, spot-heat only if needed, and store on the stand.
- Weekly: check the ear tabs and straps, look for loose knots along the hairline, and refresh the fibre with a light conditioning mist.
- Every six to twelve wears: full wash and wet reshape as described above.
- Monthly: inspect the lace for lifting or fraying, tighten any strap that has stretched, and check the nape for tangling or matting.
- Every few months, or whenever the shape drifts: a professional trim and retexture. On a short wig this is cheap, quick, and transformative, because there is so little hair to work with that even a small correction changes the whole silhouette.
The Five Pixie Problems I See Most
- The hairline rides back: the cap is too loose. Tighten the straps, add a wig grip band, or size down. Do not fix this with more hairspray.
- The crown is flat: you combed it down while styling. Go back to the roots with your fingers and a little water, lift upward, and set with light spray.
- The fringe splits and separates: product build-up. Wash the piece, or use a dry shampoo at the fringe only and comb it out.
- It looks shiny and synthetic: silicone build-up, or too much serum. A cool water dip with a drop of sulphate-free shampoo usually resets it. On human hair, a light dry shampoo at the roots kills shine fast.
- It looks like a helmet: too much density at the sides and no visible skin. Have a stylist thin the sides and add point-cut texture at the ends, then keep the sides flatter than the crown in every style.
Final Thoughts
A pixie cut wig is the closest thing in this hobby to a costume that becomes a face. It strips away every trick and forces you to get the fundamentals right: a cap that fits, fibre you understand, and a routine you actually follow. Do that and something strange happens. You stop thinking about the wig. You start thinking about the person wearing it. That is the moment the character arrives, and that is the moment a short wig stops being short hair and starts being you. Now go find your next role.