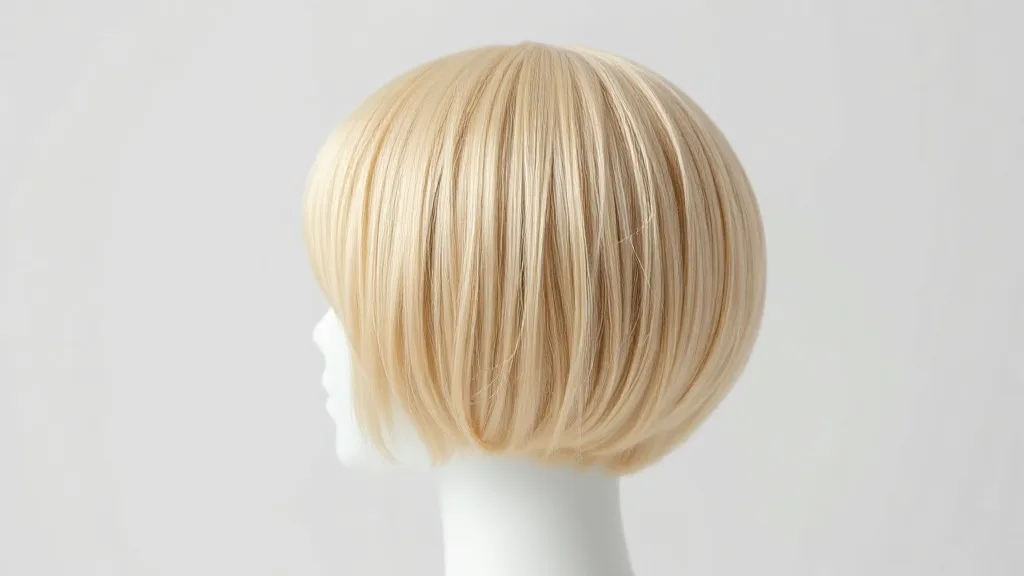

Is Your Wig Too Big? Let’s Fix That.
Whether you’re a stage actor or a daily wig wearer, nothing ruins the illusion faster than a wig that slips, slides, or billows. An oversized wig isn’t a death sentence—it’s an invitation to apply some technical precision. Drawing from my years as a theater costume designer, I’ll walk you through the most reliable methods to tighten a wig that’s too big, using tools you likely already have.
Assess the Fit: Where’s the Slack?
Before diving into fixes, put the wig on a mannequin head (or your own head) and pinch the excess. Is it at the nape? The crown? The sides? Each area requires a slightly different approach. For example, a baggy crown calls for darts, while loose sides respond well to elastic adjustments.
Method 1: Sewing Darts for a Custom Fit
Darts are your best friend for removing volume from the cap without affecting the hairline. This is a permanent but invisible fix.
- Turn the wig inside out and identify where the cap is loose. Look for existing seams—darts should be placed along those lines.
- Pinch a small fold (about ¼ to ½ inch) of the cap material near the nape or crown, ensuring you don’t catch hair wefts.
- Using a needle and thread matching the cap color, sew a straight line from the edge of the fold inward, tapering to a point. Tie off securely.
- Try on the wig. If still loose, add another dart on the opposite side for balance.
Method 2: Elastic Band Adjustment
For wigs with adjustable straps, you can tighten the band itself. But if there’s no strap, you can add one.
- Measure a piece of elastic (1/2 inch wide) to fit snugly around the back of your head, from ear to ear.
- Sew one end of the elastic to the inside of the cap just above one ear tab, then stretch it across and sew the other end to the opposite ear tab.
- If the wig has an existing nape strap, you can simply shorten it by cutting and resewing with a tighter tension.
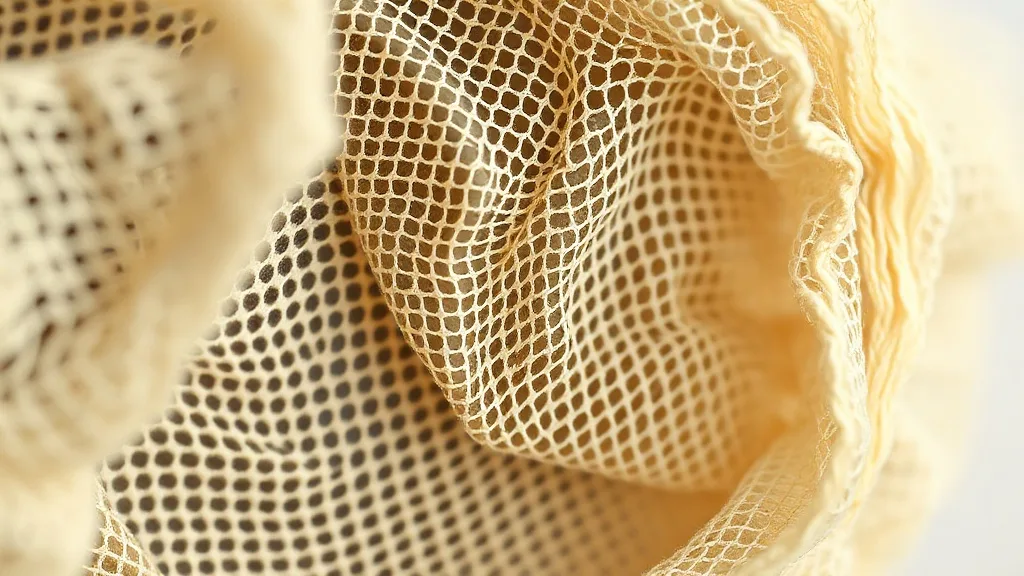
Method 3: Foam Strips for Pressure Relief
Foam strips (like those used in wig caps) add grip and fill space without permanent alteration.
- Purchase wig foam strips or cut thin upholstery foam to size—about 1 inch wide and 3 inches long.
- Peel the backing and stick the foam along the inside of the wig cap at the temples and nape.
- Press firmly and try on the wig. The foam will compress slightly and create friction, preventing slippage.
Method 4: Wig Clips & Combs – The Quick Fix
If you need a non-permanent solution, add snap clips or combs inside the cap.
- Select small wig clips (with silicone grips) or plastic combs.
- Sew them onto the inside of the cap at the temples, crown, and nape—wherever the wig feels loose.
- Snap the clips onto your natural hair or a wig cap for instant hold.
Final Fitting and Styling Tips
After applying your chosen fix, always test the wig by gently shaking your head. A well-fitted wig should move with you, not against you. For extra security, use wig glue or tape along the hairline—but only after you’ve adjusted the cap. Remember, a wig that’s too tight can cause headaches, so aim for a snug but comfortable fit.
With these technical adjustments, your oversized wig will transform into a custom-fit masterpiece. Whether you’re on stage or on the street, you’ll have the confidence that comes from a perfectly secured hairpiece.