
Full lace wigs have a reputation problem. People hear "full lace" and immediately picture red carpets, celebrity stylists, and a price tag that makes them nervous. Here's the truth I've shared with thousands of customers across my counter: a full lace wig is not harder to install than a lace front. It's just less forgiving if you rush it.
The difference is simple. A lace front only has hand-tied lace across the first inch or two of the hairline. A full lace wig has hand-tied lace across the entire cap — front, sides, back, crown, all of it. That means you can part it anywhere, pull it into a high ponytail, braid it, wrap it, or wear a deep side part without ever seeing a seam. It's the most versatile construction in the business, and once you know the sequence, it's genuinely beginner-friendly.
This guide walks you through the full process: what to buy, how to prep, how to apply, how to melt the lace so it disappears, and how to style a unit that actually looks like it grew out of your scalp. Follow the order exactly. Most first-time disasters are caused by skipping ahead, not by lack of skill.
What a Full Lace Wig Actually Gives You
Before you spend a cent, understand what you're paying for. A full lace cap is lighter and more breathable than a standard lace front or a hard-front unit. Because every strand is hand-tied to the lace in a natural growth pattern, the hair moves and falls the way real hair does, and the knots can be bleached to vanish against a realistic scalp tint.
The trade-off is durability. Lace is delicate. You can't yank a comb through it, you can't scrub it, and you can't sleep in it without protection if you want it to last more than a few months. Treat a full lace unit like the fine garment it is and it will outperform every cheaper wig you've owned. Treat it like a mop and it will bald in six weeks.
Everything You Need Before You Start
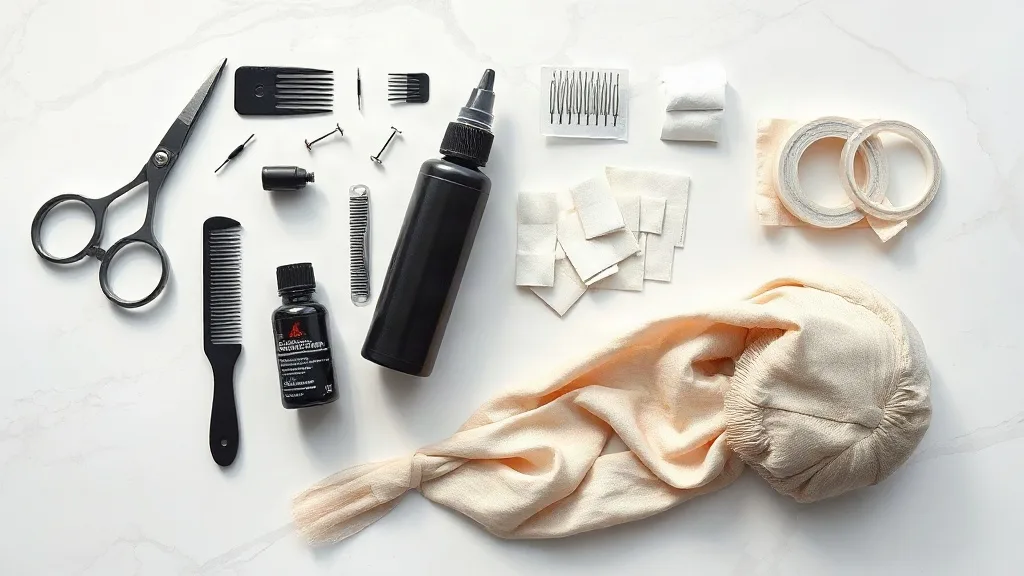
Lay your supplies out before you touch the wig. Interrupting an install to hunt for a comb is how hairlines get crooked. Here's the beginner kit:
- Your full lace wig, plus a wig stand or canvas mannequin head
- A nylon wig cap, stocking cap, or bald cap (your choice of foundation)
- Lace tint spray, powder, or a foundation slightly darker than your scalp
- Wig clips, bobby pins, and a wide-tooth comb plus a rat-tail comb
- Small curved embroidery scissors — not kitchen scissors, not nail scissors
- Lace adhesive, lace tape, or a glueless elastic band and clips
- 99% isopropyl alcohol and cotton pads for cleanup
- A satin edge scarf or wrap
- Got2b spiking gel or a lace melt spray
- Leave-in conditioner, heat protectant, and a wig serum or oil
If you're buying your first full lace wig and you're not sure about cap size, density, or lace type, get that sorted before install day. A 13x4 or 13x6 lace front wig is easier to start with than a true full lace unit, but if you've already committed to full lace, you're getting the better product. Just measure your head twice.
Step 1: Prep Your Natural Hair Flat
The wig can only sit as flat as whatever is underneath it. Braid your natural hair into cornrows going back, or flat twists if your hair is shorter. If you have very short hair, a wig cap or nylon stocking cap is enough. If you're using a bald cap, powder it lightly so the silicone doesn't fight the lace.
Keep product minimal. Heavy grease and oil will break down adhesive and cause slippage within hours. A light moisturizer is fine; a handful of shea butter is not.
Step 2: Fit and Adjust the Wig Before Any Adhesive
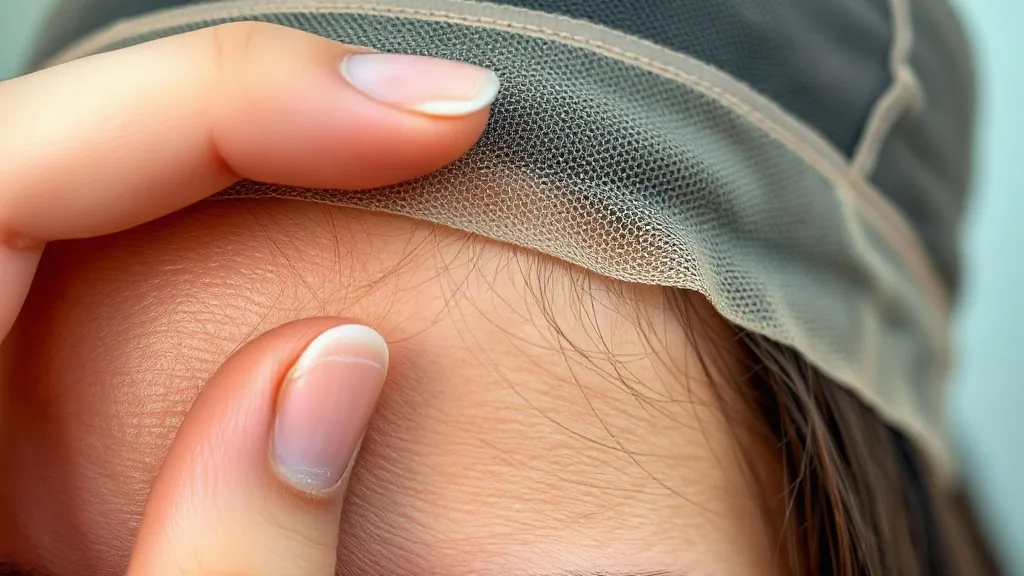
Put the wig on dry — no glue, no tape. Find where the hairline sits on your forehead. It should follow your natural hairline, roughly four to five fingers above your eyebrows. Not on the forehead, not halfway up your skull.
Tighten or loosen the adjustable straps at the back until the cap hugs your head without pinching. If the wig slides forward when you tilt your head down, it's too loose. If you get a headache in five minutes, it's too tight. This is the moment to fix both, not after you've glued it down.
Step 3: Tint the Lace and Cut It Correctly
This is the step beginners skip, and it's the one that separates "nice wig" from "she grew that." Most lace arrives too light and too shiny. Turn the wig inside out on your stand and mist a lace tint spray across the lace, or pat on a foundation one shade darker than your scalp. Let it dry completely.
Now the cutting. Put the wig on and trim the excess lace in small increments, leaving about a quarter inch past the hairline. Work in a slight zigzag rather than a straight line — straight cuts read as a hard border. Whatever you do, do not cut into the baby hairs. Those wispy strands are the single most convincing detail on the whole unit. If you're nervous, cut less than you think you need. You can always take more off. You cannot put it back.
Step 4: Choose Your Application Method
There are three ways to secure a full lace wig, and they suit different people. Pick one and master it before experimenting.
Glueless is the beginner's best friend. An elastic band sewn into the cap, plus a few wig clips, holds the unit securely for a day or two and comes off in seconds. No adhesive, no irritation, no learning curve. If you're wearing the wig occasionally, this is all you need.
Lace tape sits in the middle. It's fast, clean, and lasts a few days to a week. Cut tape strips to fit the perimeter, press them onto the lace or the cap, then peel and press onto clean skin. Tape is far more forgiving than glue and much easier to remove — a great stepping stone.
Lace glue gives the strongest, longest hold — often one to two weeks, and waterproof formulas can handle swimming and sweat. It's also where beginners get into trouble. The rule is thin layers. Clean the skin with isopropyl alcohol, apply a thin coat along the hairline, and let it dry until it turns completely clear and tacky. Not wet. Not stringy. Clear and tacky. Then press the lace down and hold for thirty to sixty seconds. Repeat that thin-layer process two or three times for a hold that lasts. A single thick glob will slide, lift, and take your edges with it.
Step 5: Melt the Lace Into Your Skin
This is the magic step. Once the wig is secured, take a small amount of Got2b gel or a lace melt spray and smooth it along the hairline, working it down into the lace with the back of a comb or your fingertips. Then tie a satin edge scarf firmly around your hairline — snug, but not tight enough to leave a mark — and hit it with a blow dryer on the cool setting for thirty seconds. Leave the scarf on for ten to fifteen minutes.
When you take it off, the lace should be sitting flush against your skin, blending into your forehead. No white film, no visible grid. If you can still see the edge, you either didn't tint the lace dark enough or you didn't press it down hard enough. Both are fixable on the next install.
Step 6: Style It Like It's Yours
Now the fun part. Because full lace is hand-tied across the entire cap, you can part it literally anywhere — center, deep left, deep right, even a zigzag. Take a rat-tail comb and create the part with a clean line, then use the tail to gently lift a few strands so the part doesn't look combed-in.
For movement, mist in a leave-in conditioner and scrunch. For curls, use a curling wand or flexi rods on low heat, always with heat protectant — and remember that heat tools belong on human hair units only. Synthetic full lace wigs should be styled with steam, rollers, or a low-heat dryer. To blend the unit with your own hair, pull out a few baby hairs or leave a bit of your natural hairline exposed at the temples and blend it with the lace using a soft brush and a touch of gel.
High ponytails, half-up styles, braided crowns, sleek buns — all fair game. That's the whole point of paying for full lace. Use it.
Five Mistakes That Ruin First Installs
- Cutting too much lace off before you've tested the fit. Always cut in tiny increments.
- Applying glue too thick. Thin layers, completely dry and tacky, always.
- Skipping the lace tint. Untinted lace is the number one giveaway of a wig.
- Sleeping in it unprotected. A satin bonnet or pillowcase every single night, no exceptions.
- Washing too often. Every seven to ten wears for a glued unit, and always sulfate-free shampoo followed by conditioner and air drying on a stand.
Removal and Aftercare
Never rip a glued wig off. Soak the hairline with 99% isopropyl alcohol or a dedicated adhesive remover on a cotton pad and let it dissolve the bond. Work slowly from the back forward. Once it lifts, clean the leftover residue from the lace gently with your fingertips — not a comb, not a brush.
Wash the unit in cool water with sulfate-free shampoo, condition the mid-lengths and ends, and let it air dry on a stand. Detangle from the ends upward with a wide-tooth comb while it's damp. Store it on a stand or in a satin bag, never in a tangled heap in a drawer. A well-cared-for full lace wig can genuinely last eight to twelve months. A neglected one won't see three.
The Bottom Line
Installing a full lace wig for the first time takes about forty-five minutes if you're gluing, twenty if you're going glueless. By your third install you'll be doing it in fifteen. The learning curve isn't in your hands — it's in your patience. Tint the lace, cut it slowly, apply thin layers, and melt the hairline properly, and nobody will know it isn't yours.
Start with a glueless or tape method, wear it for a week, and see how your scalp and your edges respond. Then graduate to glue when you're ready. And when you're shopping for your next unit — because there will be a next unit — pay attention to lace type, cap size, and density rather than just the photo. That's what separates a wig you love from a wig you tolerate.