Introduction
There's a reason I keep my methods close to the chest. In the world of wigs, a perfect part is everything—but color can make or break the illusion. Chalk dye is my secret weapon: no damage, no commitment, and results that fool even the sharpest eyes. Whether you're auditioning a new shade or adding subtle highlights, this technique gives you control without the risk.
Step 1: Choose the Right Wig and Chalk
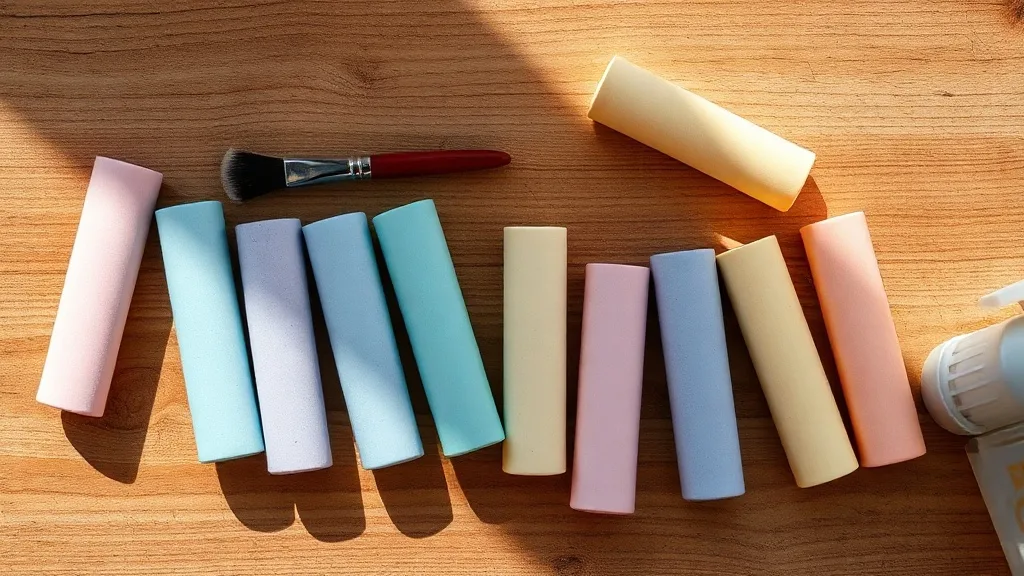
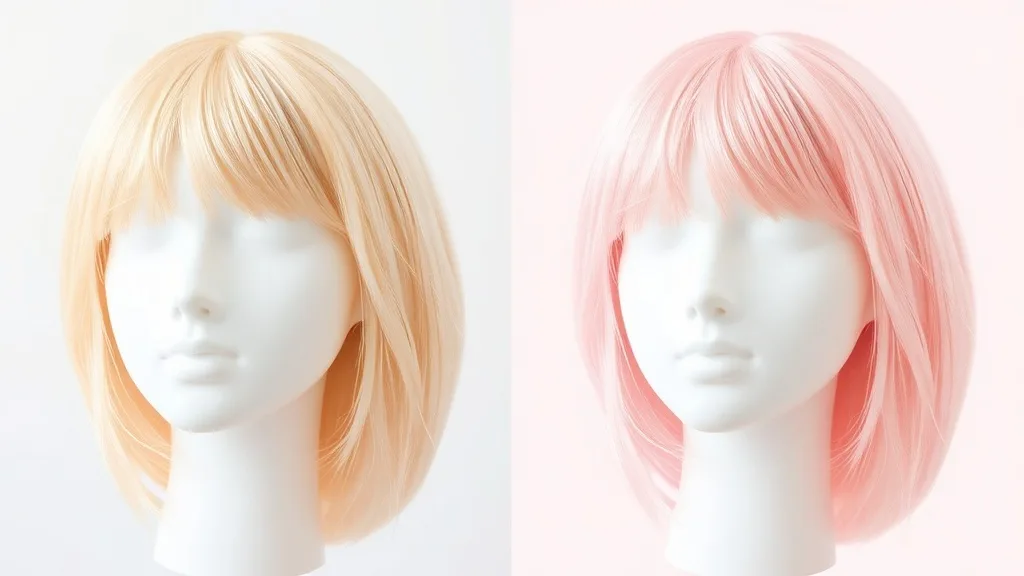
Not all wigs are created equal. For best results, start with a light-colored wig—blonde, gray, or pastel bases take color beautifully. Avoid dark wigs unless you're after a subtle tint. As for chalk, use soft pastels designed for hair (like those from Sephora or beauty supply stores). Regular sidewalk chalk is too gritty and may dry out fibers.
Pro tip: Test a strand first. Some synthetic fibers react differently, and you don't want surprises.
Step 2: Prep the Wig
Brush the wig thoroughly to remove tangles. If it's synthetic, a light mist of water can help the chalk adhere—but don't soak it. For human hair wigs, a tiny bit of dry shampoo adds texture for gripping color. Place the wig on a styrofoam head or mannequin for stability.
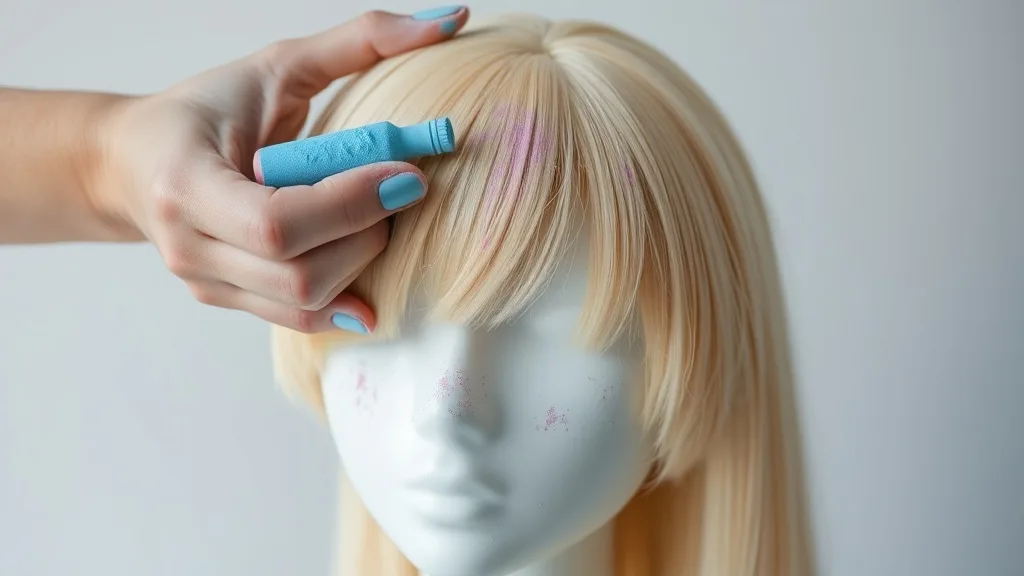
Step 3: Apply the Chalk
Here's where the magic happens. Use a small brush or your fingers to pick up chalk powder. Work in sections: part the hair and apply the chalk to the roots, then blend downward. For a natural look, focus on the mid-lengths and ends, leaving the roots lighter. Build color slowly—you can always add more, but you can't take it away.
- For pastel shades: apply sparingly and buff with a clean brush.
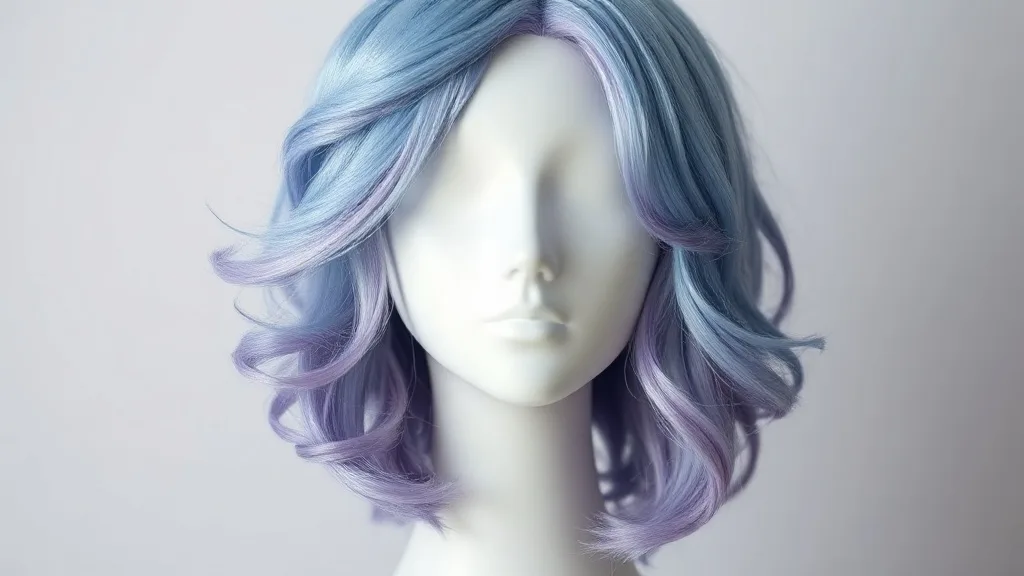
- For vibrant tones: layer chalk until you reach desired intensity.
- For an ombre effect: concentrate color on the ends and fade upward.
Step 4: Set the Color
Setting is crucial—otherwise, chalk will dust onto everything. Use a low-heat blow dryer to warm the chalk into the fibers, or let it sit for 10 minutes. For extra hold, spritz a light-hold hairspray (alcohol-free for synthetics) from a distance. This seals the color without stiffening the hair.
Step 5: Seal and Style
Once set, gently brush through the wig to remove excess powder. Style as desired—curls, waves, or a sleek part. The chalk will stay put until you wash it out. To remove, simply shampoo the wig; the color rinses away completely.
Final Tips
Chalk dye works best on clean, dry wigs. Store colored wigs away from moisture to prevent bleeding. And remember: the secret to a natural look is restraint. Less is more. If you're uncertain, start with just a few streaks. Your wig—and your confidence—will thank you.