

The Foundation: Choosing the Right Wig Cap
Before we even talk about the hairline, you need the right foundation. For a natural look, the cap construction is everything. Lace front wigs have a sheer lace panel at the front that mimics scalp, while full lace wigs allow for more styling versatility. If you’re like me—a die-hard toupee fan—you know that a well-made lace front can fool anyone. Look for Swiss lace or HD lace; they’re thin, breathable, and virtually invisible. Don’t skimp here: a quality cap is your first secret to a natural hairline.
Also consider the hair density. A common mistake is buying a wig with too much hair. Remember: real hairlines aren’t perfectly thick. Choose a density that matches your age and natural hair growth pattern. I always recommend a density between 120% and 150% for a realistic look.
The Art of Lace Trimming
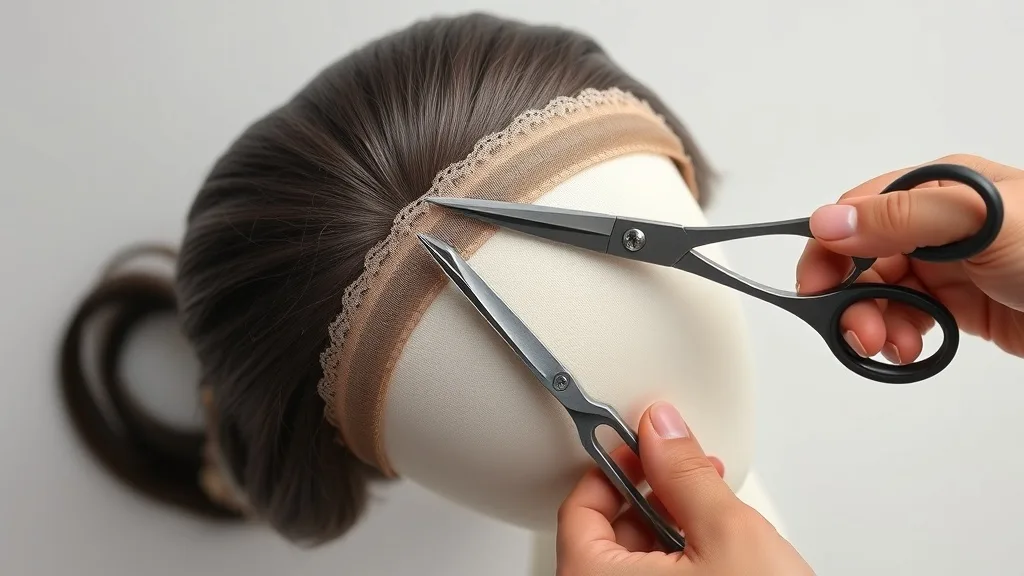
Once you have your wig, the lace needs to be trimmed to match your hairline. This is where many people go wrong. You don’t want to cut too close to the hair knots—leave about 1/8 inch of lace. Use a small pair of curved scissors and follow the natural curve of your hairline. Cut slowly and check frequently. The goal is to create a feathered edge that blends seamlessly into your skin.
For toupees, the same principle applies, but the shape is more defined. I’ve trimmed hundreds of toupees, and the secret is to cut in a micro-fringe pattern—tiny V-shapes—to break up the straight line. This mimics the irregularity of a natural hairline.
Adhesive and Application Techniques
The adhesive you choose can make or break your hairline. For a secure hold that lasts all day, I recommend a medical-grade tape or liquid adhesive designed for wigs. Apply a thin, even layer to the lace perimeter and let it become tacky before placing it on your scalp. Press down firmly along the hairline and hold for 30 seconds. The bond should be strong but not stiff—you want movement.
One pro tip: use a small amount of adhesive and then blow-dry it on a cool setting for 10 seconds. This helps the bond form without melting the lace. And always do a patch test first—your skin will thank you.
Styling for Realism
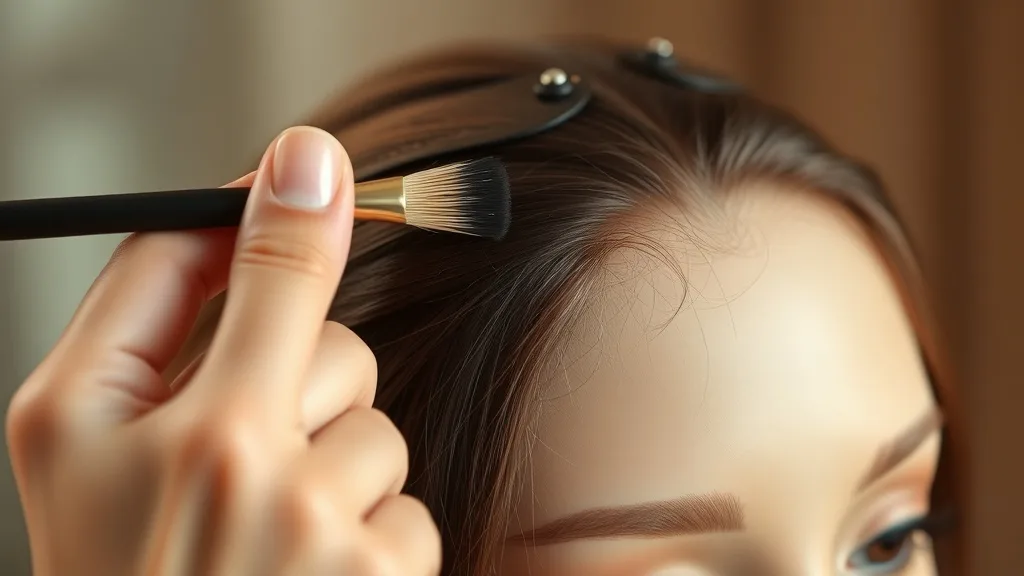
Now comes the fun part: making it look like your own hair. Start by creating a natural parting. Use a comb to gently push the hair back from the hairline—never a straight line. Then, pluck a few hairs along the parting to mimic natural growth. Yes, plucking is scary, but it’s essential. Pluck one hair at a time, about 1/4 inch from the lace edge.
Don’t forget baby hairs. Take a small section of hair from the front, cut them to about 1 inch long, and style them outward. This softens the hairline and adds realism. For toupees, I often use a bit of gel to swoop them to the side—it’s a classic look that hides the edge perfectly.
Maintaining Your Natural Look
A natural hairline is a commitment. Clean your wig regularly—every 7–10 wears—to remove oils and adhesive residue. Use a gentle shampoo and conditioner. When storing, keep the hairline free of pressure to avoid flattening the lace. I always recommend using a wig stand and covering it with a silk scarf.
Also, rotate between two wigs if you can. This gives the lace and hair time to rest. Your hairline will last longer and look fresher with every wear.
- Invest in high-quality lace (Swiss or HD).
- Trim lace in a micro-fringe pattern.
- Use medical-grade adhesive and apply thinly.
- Pluck hairs along the parting for realism.
- Style baby hairs to soften the edge.
- Clean and store your wig properly.
Final Thoughts from a Toupee Advocate
As someone who has championed toupees for years, I know the struggle of wanting a natural hairline. These secrets aren’t just tricks—they’re game-changers. Don’t be afraid to experiment. Every head is different, and what works for one may need tweaking for another. But with patience and the right techniques, you can achieve a hairline that’s so natural, even you’ll forget you’re wearing a wig. Remember: toupees are not the enemy—they’re the unsung heroes of hair restoration.