

Let's be real: wigs are expensive. The thought of taking scissors to a brand-new unit is terrifying. But maybe you watched a YouTube tutorial at 2 AM, or your bangs are driving you crazy, or you just really want to save a trip to the stylist. I've been there. In fact, I've trimmed almost every wig I own at some point. Some turned out amazing. Others... ended up in the back of my closet. So can you do it? Yes. Should you? Read on.
The Honest Answer
Yes, you can absolutely trim a wig at home – but you need to go in with realistic expectations. If you're a perfectionist or this is your only wig, maybe reconsider. But if you're like me and you have a few old wigs to practice on, a steady hand, and a willingness to embrace imperfections, go for it. The key is prep, patience, and knowing when to stop.
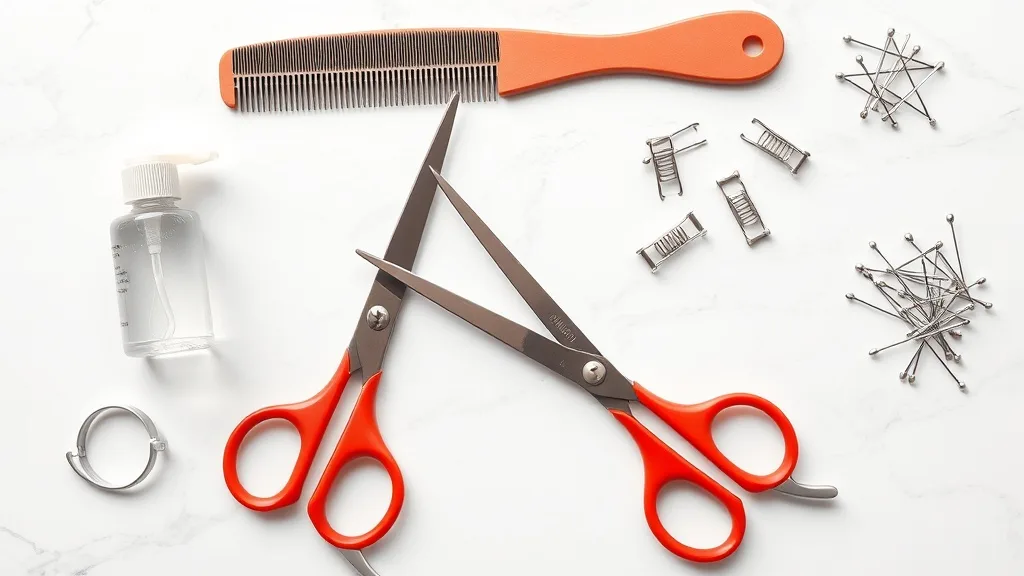
What You'll Need
- Sharp hair scissors (no kitchen shears!)
- A wide-tooth comb or wig brush
- Hair clips to section
- Spray bottle with water
- A mannequin head or foam head form (highly recommended)
- T-pins to secure wig on the head form
- Patience – and maybe a glass of wine
I cannot stress the scissors enough. Dull scissors will fray the ends and ruin the look. Invest in proper shears – they're cheaper than a new wig.
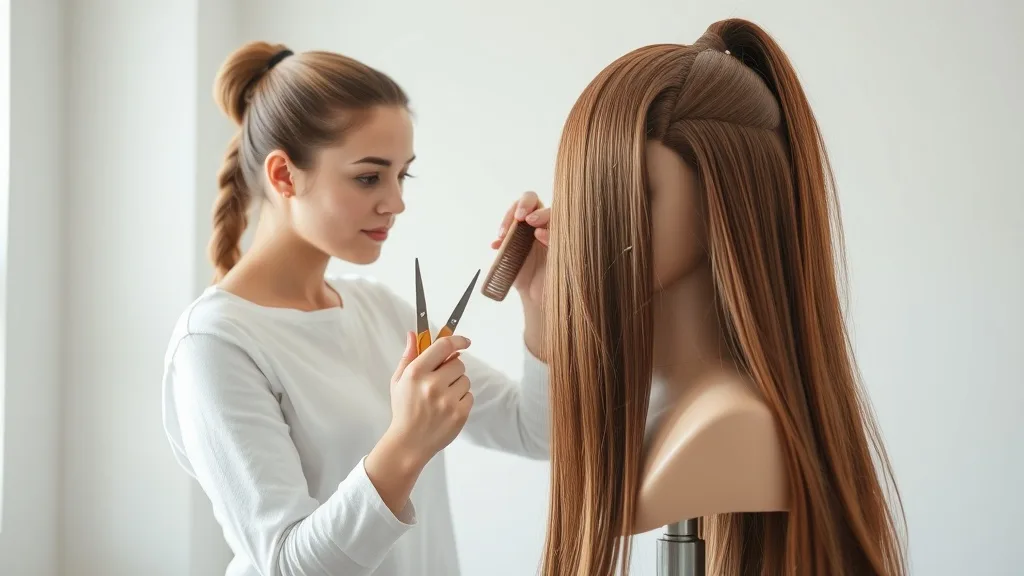
Step-by-Step: How I Trim a Wig at Home
I'm going to walk you through my process. Remember: I am not a professional, but I've done this more times than I care to admit.
1. Start with a clean, dry wig
Wash and condition the wig first, then let it air dry completely. Cutting into dirty or wet hair can lead to uneven results. Once dry, brush it thoroughly.
2. Put it on a mannequin head
Secure the wig using T-pins around the cap. Adjust the mannequin to a comfortable height. This gives you a 360-degree view and keeps the wig stable.
3. Section the hair
Divide the wig into manageable sections – top, sides, back. Clip up the parts you're not working on. Start with the back if it's long, as it's more forgiving.
4. Cut small amounts at a time
Take small vertical sections (about half an inch) and cut using a point-cutting technique – point the scissors upward into the ends instead of cutting straight across. This creates a softer, more natural look.
5. Work in layers
Use the hair from the previous section as a guide. Keep combing and checking the length. Less is more – you can always cut more, but you can't add hair back.
6. Check the front last
Bangs and front sections are the most visible. Trim them very carefully. I usually cut them dry and then soften with a light mist of water.
Common Mistakes (That I've Made)
- Cutting too much at once – slow down, you're not in a race.
- Using dull scissors – frayed ends = bad vibes.
- Forgetting to check symmetry – stand back and look in a mirror regularly.
- Cutting when the wig is wet – it shrinks when dry!
- Getting overconfident with the razor comb – maybe skip that unless you're a pro.
I once got so into the zone that I took off three inches from a synthetic bob. It looked like I'd been in a fight with a lawnmower. Learn from my mistakes.
When to Call a Pro
Sometimes it's better to hand over the scissors. If your wig is a high-end human hair unit, or you need a major restyle (like going from long to a pixie cut), visit a wig specialist. Same if you have a lace front and need to trim the lace – that's delicate work. And if you're feeling anxious about messing up, trust your gut. Your wallet will thank you.
Final Thoughts
Trimming a wig at home is totally doable if you're prepared, patient, and willing to embrace a little imperfection. I've had both wins and fails, but each time I learn something. So go ahead – but maybe start on an old wig first. And if all else fails, that's what headbands are for. Good luck, and happy trimming!