

Why Color a Human Hair Wig?
Human hair wigs offer unparalleled versatility—they can be cut, styled, and colored just like your natural hair. Whether you're a theatrical performer needing a specific shade for a role, or someone who wants to refresh an old wig, coloring at home saves time and money. However, the process is different from dyeing hair on your head. Wigs lack a natural oil supply and have a finite lifespan, so precision and care are paramount. In this guide, I'll walk you through the exact steps I use backstage to achieve consistent, vibrant results.
Step 1: Confirm Your Wig Is 100% Human Hair
Before you buy any dye, verify the fiber. Synthetic wigs cannot be colored with traditional hair dye—they require special synthetic dyes that often yield unpredictable results. Check the label: 'human hair' or 'Remi hair' are good signs. If you're unsure, perform a strand test. Snip a small hair sample from the nape (hidden area) and apply a small amount of dye mixed with developer. If the color lifts and deposits evenly, you're good to go. Never attempt to dye a synthetic wig with permanent color; it will melt or become gummy.
Step 2: Gather Your Supplies
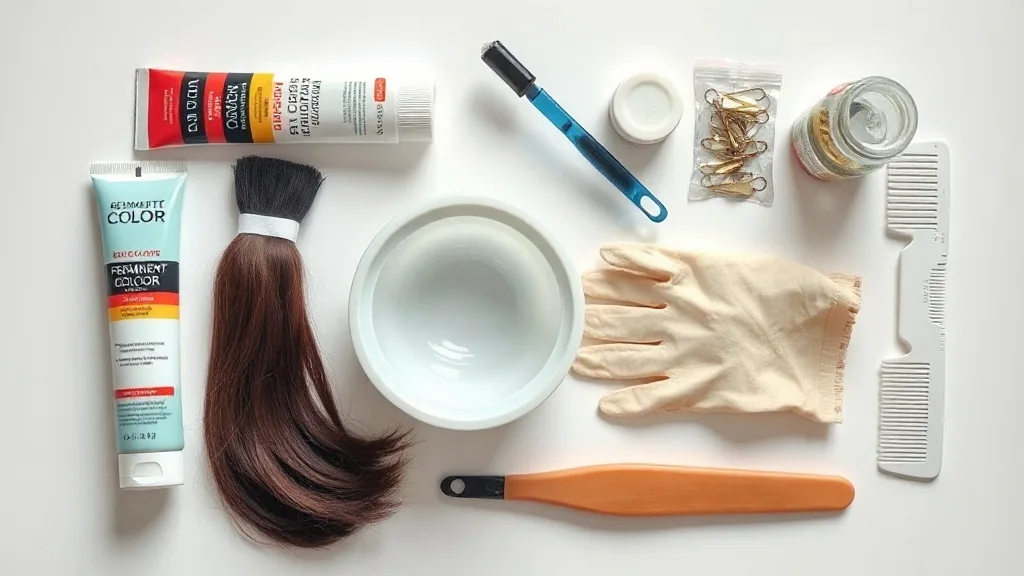
Precision requires the right tools. You'll need: a high-quality permanent or demi-permanent hair dye (in your desired shade), a 20-volume developer (30-volume only for lifting more than two levels), a color brush, a non-metallic bowl, sectioning clips, a wide-tooth comb, petroleum jelly, gloves, and an old towel. For the wig itself, have a wig stand or a mannequin head (preferably one with a clamp to keep the wig secure). I also recommend a spray bottle filled with water to keep the hair damp.
Step 3: Prepare the Wig
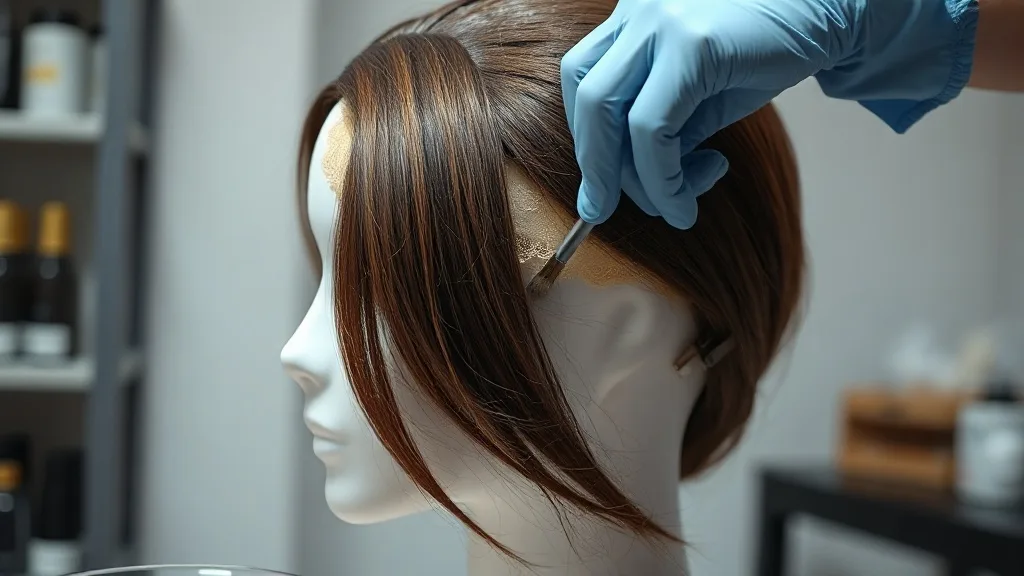
Start with a clean, dry wig. Wash it with a gentle, sulfate-free shampoo to remove any styling products or oils. Do not use conditioner—it can seal the cuticle and prevent dye absorption. Gently towel-dry the wig until it's damp, then place it on the wig stand. Apply petroleum jelly along the lace front and inside the cap to protect the base from staining. Comb the hair to remove tangles, and section it into four quadrants: top, left, right, and back. Secure each section with a clip.
Step 4: Mix and Apply the Dye
Wear gloves and work in a well-ventilated area. Mix the dye and developer according to the manufacturer's instructions—typically a 1:1 ratio for permanent color. Stir until smooth; the mixture should be creamy. Starting with the back section, apply color from the ends upward, leaving the roots for last (roots process faster due to heat from the scalp, but on a wig there's no scalp heat, so you can apply uniformly if you prefer). Use the brush to saturate each strand thoroughly. Work in small subsections, about half an inch wide, to ensure even coverage. Once the back is done, move to the sides and then the top. Avoid getting color on the lace or cap wefts.
Step 5: Process and Rinse
Processing time depends on the desired result. Check the dye instructions: most permanent colors need 30-45 minutes. For a subtle tint, 20 minutes may suffice. Keep an eye on the color through a strand test. Once the time is up, rinse the wig with cool water until the water runs clear. Do not use shampoo—it can strip the new color. Apply a color-safe conditioner or a deep conditioning treatment, let it sit for 5 minutes, then rinse. Gently squeeze out excess water with a towel (never wring or twist).
Step 6: Dry and Style
Place the wig back on the stand and allow it to air-dry partially. If you need to speed things up, use a blow-dryer on low heat with a diffuser. Once dry, style as usual. For theatrical wigs, you may want to set the hair in rollers or flat iron for a specific look. Remember that heat styling can further alter the color, so test a small section first.
Expert Tips for Success
- Always do a strand test before the full application to predict the final shade and condition.
- Demi-permanent dyes are gentler and great for refreshing color without lifting.
- If you want to go lighter, use a 30-volume developer but be cautious—over-processing can cause breakage.
- To correct a mistake, use a color remover designed for human hair wigs, or seek professional help.
- After coloring, reduce washing frequency to prolong color life; use dry shampoo between washes.
Final Thoughts
Coloring a human hair wig at home is a rewarding skill that opens up endless creative possibilities. Whether you're prepping for a show or just want a new look, patience and precision will yield professional results. Remember: the wig is an investment, so treat it with care. With practice, you'll master the art of wig coloration and save a trip to the salon. Now, go create your masterpiece.