


Why Measuring Matters When You’re Cruising at 80 MPH
I’ve been testing wigs on my motorcycle for years. The worst feeling? Having your hairpiece peel off at 70 mph and watching it disappear in your rearview mirror. A proper measurement is the difference between a wig that stays glued to your head and one that becomes a road hazard. Whether you’re adding a hair topper for volume or covering thinning areas, the same rules apply: measure twice, ride once. Let’s get your measurements dialed in so your wig can handle whatever wind you throw at it.
Tools You’ll Need – Don’t Skimp on the Gear
Before you start, grab these items. Cheap cloth tape measures can stretch over time, so invest in a decent one. You’ll also need a notepad, a pen, and maybe a friend to help – because trying to measure the back of your head solo is like changing a tire on a moving bike.
- Flexible cloth tape measure (metal ones are for fences, not heads)
- Mirror or a buddy to verify placement
- Notebook and pen
- Your usual wig adhesive or grip (to simulate real conditions)
Step 1: The Circumference – No Room for Guesswork
This is the most critical measurement. Place the tape measure about 1 inch above your ears and circle it around the widest part of your head – typically just above your eyebrows and around the occipital bone at the back. Pull it snug but not tight. You want a comfortable fit, not a tourniquet. Write that number down. For a wig with a topper, you might need a slightly larger circumference to accommodate the topper’s clips or adhesive tabs.
Step 2: Front to Nape – The Long Haul
Start at your hairline in the front (where you want the wig to begin) and run the tape down the top of your head, over the crown, to the nape of your neck. Make sure the tape follows your natural skull contour – don’t pull it straight like a ruler. This measurement helps determine the wig’s depth. For a topper, you’ll also want to note the distance from your hairline to the point where the topper will start (usually your crown or part line).
Step 3: Ear to Ear – Side-to-Side Stability
Measure from the top of one ear, over the crown, to the top of the other ear. This measurement ensures the wig doesn’t shift side to side when you’re turning your head to check for cops (just kidding… mostly). For toppers, you may also measure from ear to ear across the front hairline for a more precise fit.
Step 4: Temple to Temple – Front Security
Place the tape at one temple, and go around the back of the head just above the ear line to the other temple. This measurement is key for toppers because it determines how well the front edge sits against your skin. A gap here means wind can get under it – and that’s a recipe for disaster at speed.
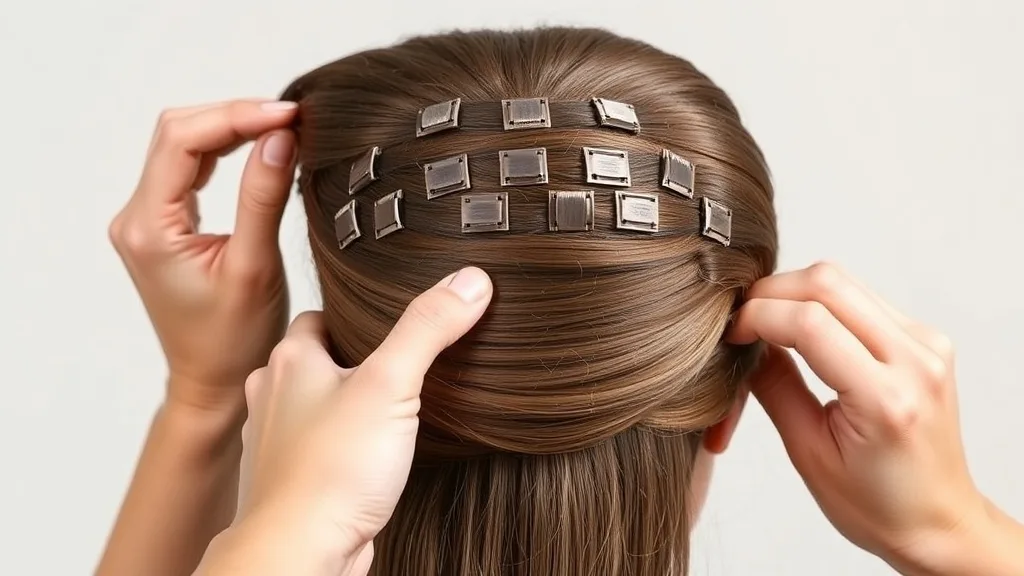
Step 5: The Top Area – For Toppers Specifically
If you’re adding a hair topper, you need the dimensions of the area you want to cover. Measure from the front of your part to the back of the thinning area, and from side to side. Most toppers come in standard sizes (small, medium, large), but custom is always better for a secure fit. Write these dimensions down.
Putting It All Together – Measurements Check
Now compare your numbers to the wig or topper sizing chart. Most wigs are sized petite, average, or large. For example, a typical average circumference is 21.5-22.5 inches. Toppers usually have a base size like 4x4 inches or 6x6 inches. Don’t forget to account for your hair underneath – if you have bio hair that will be pulled through the topper, you may need a larger size. When in doubt, go bigger; you can always adjust with clips or adhesive.
Testing Your Fit – The Wind Tunnel Edition
Once you have your wig or topper, don’t just assume it fits. Put it on and take it for a test ride – literally. Head outside on a windy day or (if you’re like me) hop on your bike for a quick 30-minute ride. Start slow, then gradually increase speed. If you feel any lifting, you need to adjust the fit. Common fixes: use stronger adhesive, add security clips, or tighten the straps. If you still get lift, your measurements might be off. Go back to step one.
Pro Tips from a Speed Freak
- Always measure your head at the end of the day when it’s slightly swollen – this is your true maximum size.
- If you wear a helmet, measure with the helmet on first to ensure your wig fits underneath. (Yes, I’ve done it – a wig that fits under a full-face helmet is the holy grail.)
- For toppers, adhesive is better than clips for high-speed stability. But if you use clips, make sure they’re positioned on the thickest part of your bio hair.
- Don’t forget to account for hair growth. Measure every few months if you’re using a permanent topper.
Conclusion – Stay Secure, Ride Fast
Measuring for a wig with a hair topper isn’t rocket science – it’s head science. Take your time, get the numbers right, and you’ll have a wig that stays rock-solid at any speed. I’ve tested dozens of wigs on the open road, and the ones that fit best are the ones that were measured with care. Now go measure up, and I’ll see you on the highway – hair intact.