Why Bother with the Hairline?
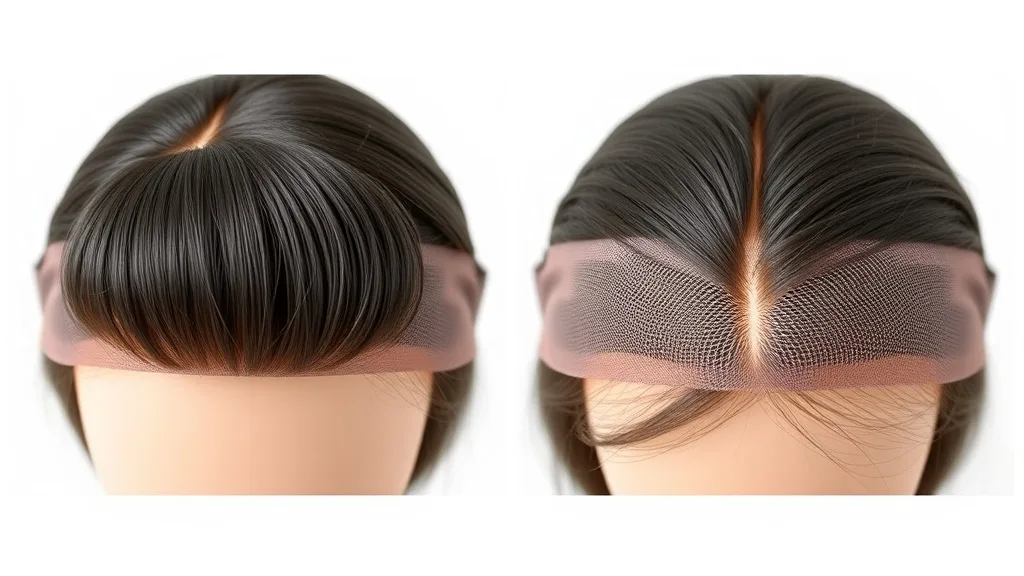
Let's be real: a wig's hairline is the dead giveaway. Whether it's a $30 costume wig or a high-end synthetic, that too-straight, too-dense edge screams 'I'm not your real hair.' If you're going to wear wigs—especially synthetic ones like I do—you owe it to yourself to get that hairline looking undetectable. And no, tossing a scarf over it doesn't count.
Understanding Your Wig's Construction
Before you start yanking hairs, know what you're working with. Most wigs come in three basic types: lace front, full lace, and traditional cap (which usually has a closed front). Lace fronts have a sheer mesh at the front that mimics scalp—these are the most customizable. Full lace wigs offer even more flexibility. Traditional caps? Good luck—they often have a hard, ready-made hairline that's tough to modify. Synthetic wigs, especially heat-friendly ones, can be styled with heat tools, but always check the fiber's heat tolerance.
Gather Your Tools
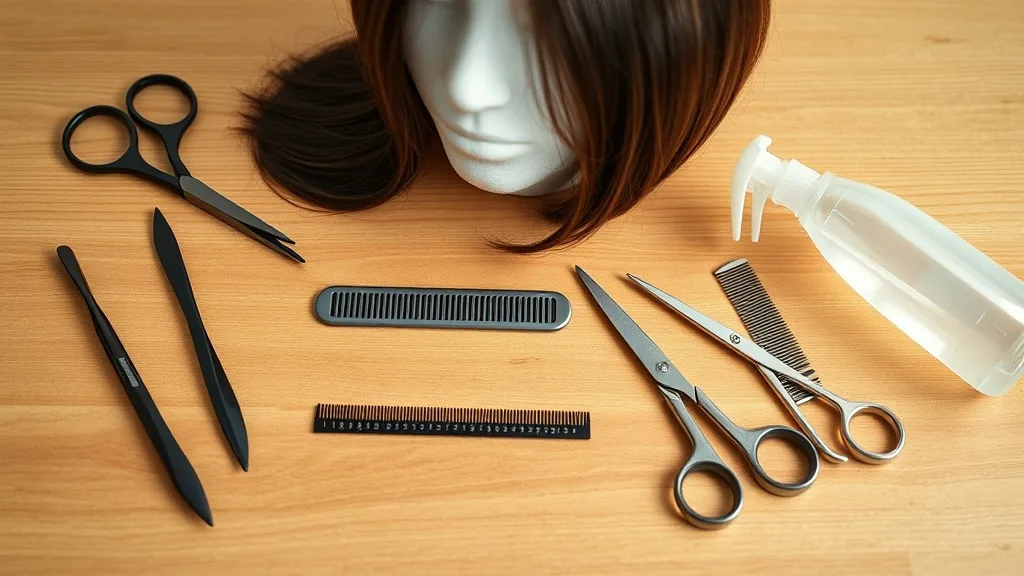
You don't need much, but what you have matters. Here's my starter kit:
- Fine-point tweezers (the sharper, the better)
- Wide-tooth comb or wig brush
- Small scissors or a razor comb (for baby hairs)
- Spray bottle with water (to dampen the hair)
- Styling gel or wax (optional, for baby hair placement)
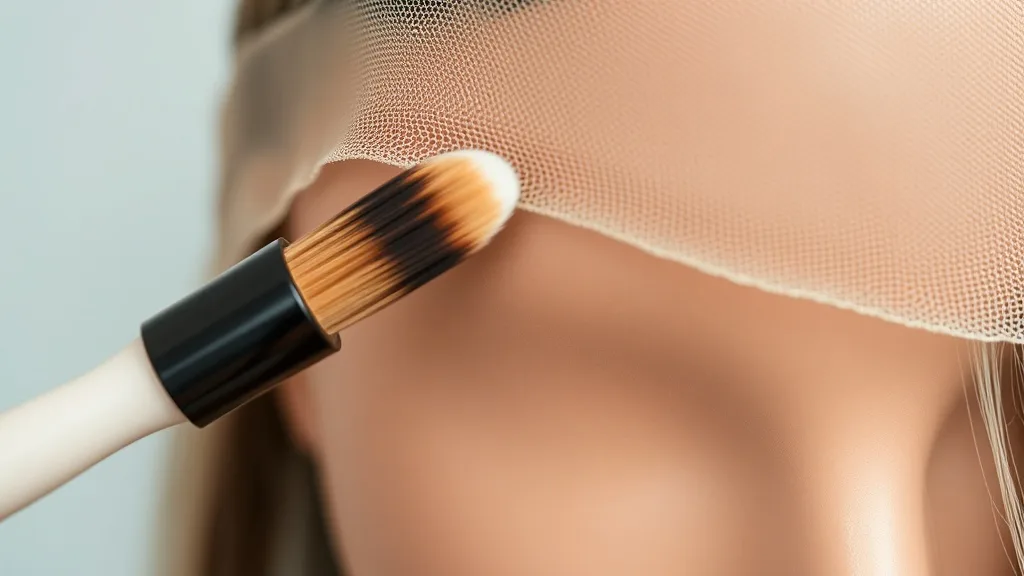
- Concealer or foundation that matches your scalp tone (if you have a lace front)
Plucking: The Art of Less is More
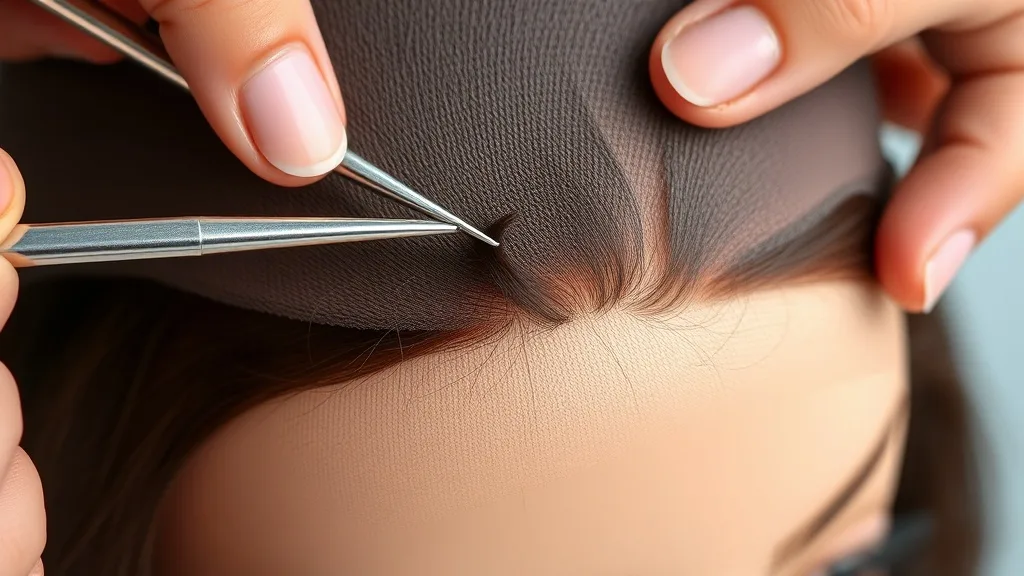
Plucking is the single most effective thing you can do. But do NOT go rogue. Here's how I do it:
Pro tip: Synthetic hair often has a rubbery texture when cut. If you cut baby hairs, do it after dampening the hair—it reduces that 'bristly' feel. And for the love of all things wig, don't overpluck. You can always remove more, but you can't add back.
Shaping the Hairline
Once the density is right, shape the actual hairline. Real hairlines aren't straight; they have a subtle widow's peak or an arch at the temples. Use your scissors or razor to lightly trim any long stragglers that don't fall naturally. For synthetic wigs, I like to use a razor comb to create micro-points—it breaks up the blunt line.
If your wig has lace, blend the lace by cutting it close to the hairline (leave about 1/16th inch of lace). Then use a bit of concealer on the lace to match your skin. This step is a game-changer.
Styling for Natural Movement
Now that the structure is good, style the hair so it imitates natural growth. For heat-friendly synthetics, you can use a blow dryer on low or a flat iron to add a slight bend. Curling the hair away from the face at the temples creates a soft frame. If you have baby hairs, lay them down with a tiny bit of gel and a toothbrush, but don't plaster them down—a few wispy ones are more natural.
Remember: the goal is 'effortless perfection,' not 'I spent two hours on this.' Your wig should look like you just woke up with perfect hair—not like you styled a mannequin head.
Maintaining Your Masterpiece
Customization isn't a one-and-done. After washing, the hairline can reset. You'll need to re-pluck a bit, re-blend the lace, and restyle. But honestly, once you've done the heavy lifting, touch-ups take five minutes. Also, avoid heavy products near the hairline—they attract dirt and make the wig look greasy. Stick to water-based sprays.
Final Thoughts
Look, I've seen wigs that belong in a horror movie and wigs that fooled even me. The difference is the hairline. Take the time to customize it, and you'll walk out with confidence. Plus, there's something satisfying about telling someone 'It's a wig' when they swear it's your real hair. That smug feeling is priceless.