

Introduction: Why Dye a Wig? (And Why You Should Be Careful)
Look, I've been there. You buy a human hair wig in a shade that looked perfect online, but in real life it's a total dud. Or maybe you just want to match your new root color without dropping another $500. Whatever your reason, dyeing a human hair wig is absolutely doable—but it's not as simple as grabbing a box of drugstore color. Trust me, I've learned the hard way. I've got a closet full of 'experiments' that went wrong. So let me save you from the same fate.
What You'll Need
- Human hair wig (100% human hair, no synthetics!)
- Semi-permanent or permanent hair dye (avoid box dyes with metallic salts)
- Developer (20 volume for most jobs, 30 volume if you're going lighter)
- Hair color brush and bowl
- Gloves and an old t-shirt
- Plastic wrap or a shower cap
- Wide-tooth comb
- Shampoo and conditioner (sulfate-free, please)
- A wig stand or mannequin head
- Patience (seriously, don't rush)
Step 1: Choose the Right Dye
Not all dyes are created equal. For wigs, you want to avoid anything with metallic salts—they react weirdly with the hair and can turn green. I recommend a semi-permanent dye if you're a newbie or if you just want a subtle shift; permanent dye is for dramatic changes but it's harder to reverse. Also, pick a shade that's close to your wig's current color if you can. Going from black to platinum blonde is a nightmare and rarely turns out well (ask me how I know).
Step 2: Perform a Strand Test
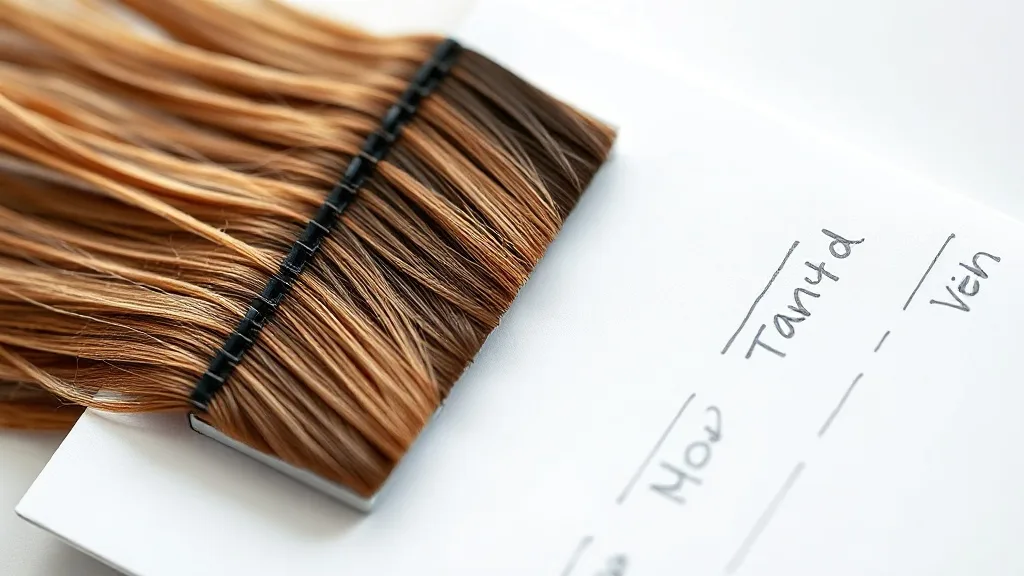
I cannot stress this enough: do a strand test. I once skipped this step and ended up with a wig that looked like a moldy peach. Cut a small strand from the weft (the underside of the wig), apply the dye as directed, and see how it turns out. This gives you a preview of the final color and tells you if your wig will actually take the dye evenly.
Step 3: Prepare the Wig
- Gently wash the wig with a sulfate-free shampoo to remove any product buildup. Let it air dry completely.
- Place the wig on a stand. Secure it with pins if needed.
- Brush the hair thoroughly to remove tangles. Use a wide-tooth comb—don't yank!
Step 4: Mix the Dye
Follow the instructions on your dye and developer. Usually, it's a 1:1 ratio. Mix in a plastic bowl using a color brush. Wear gloves! And maybe put down newspaper because I guarantee you will drip somewhere.
Step 5: Apply the Dye
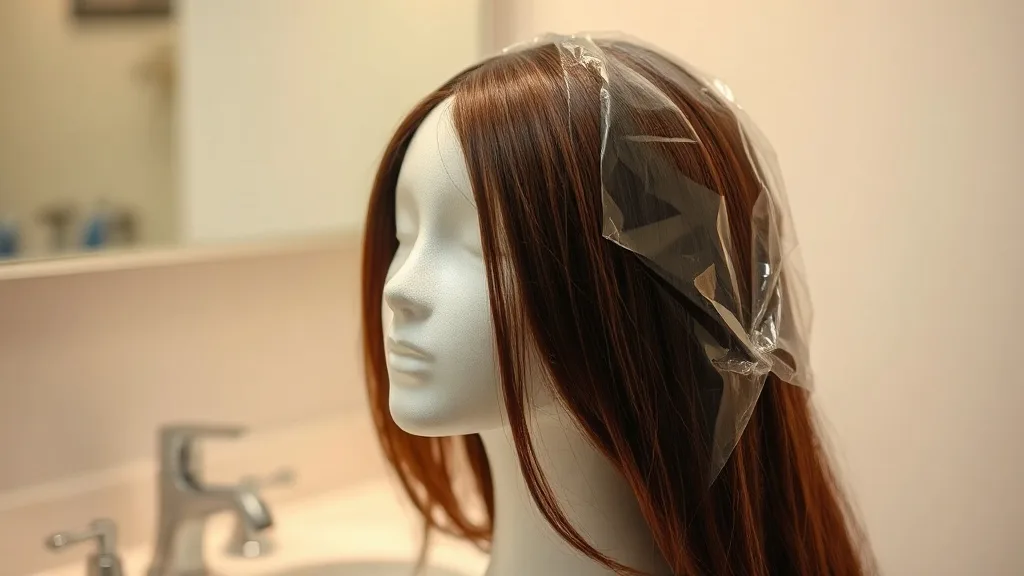
Start at the nape (back) of the wig and work your way forward. Section the hair into four quadrants so you don't miss spots. Use the brush to saturate each strand from root to tip. For a more even result, flip the wig over and apply from the inside as well. Once done, cover the wig with plastic wrap or a shower cap to keep the dye moist.
Step 6: Process and Rinse
Check the processing time on your dye. Set a timer—don't eyeball it. I've left dye on too long and ended up with a color that was way darker than intended. When the time's up, rinse the wig with cool water until the water runs clear. Do not shampoo yet; just let the water flow through. Then apply a gentle conditioner and rinse again.
Step 7: Condition and Style
Color-treated human hair needs extra love. Use a deep conditioner or a hair mask and let it sit for at least 10 minutes. Rinse and gently blot with a towel. Let the wig air dry on a stand—heat styling is fine after it's dry, but give it a break. When it's dry, style as usual. And pat yourself on the back if it turned out well!
Final Tips from a Wig Hoarder
- Don't dye a wig right after you buy it. Wear it for a few days to see if you even like the current color.
- If you're going darker, it's almost always easier than going lighter. Keep that in mind.
- Professional dyes made for wigs are worth the extra cost. I've used drugstore dyes that ruined the texture.
- If you mess up, you can always take it to a pro. There's no shame in admitting defeat.
There you go. My honest, no-BS guide to coloring a human hair wig. Follow these steps, and you'll save yourself from a world of wig regret. Now go make that wig your own—and send me a pic when you're done!