
Why Wig Tape?
I’ll be honest: the first time I tried wig tape, I was more nervous than a cat at a dog show. But after detangling hundreds of wigs, I’ve learned that a little adhesive bravery goes a long way. Wig tape is a game-changer for keeping your wig in place through wind, workouts, and even a few dance moves. It’s strong but gentle—if used correctly. In this guide, I’ll walk you through everything you need to know, from picking the right tape to removing it without pulling your hair out (literally).
What Is Wig Tape?
Wig tape is a double-sided adhesive specifically designed for securing wigs. It comes in strips, rolls, or pre-cut shapes, and it’s typically made from medical-grade materials that are safe for skin. The tape adheres to both your scalp (or wig cap) and the wig, creating a strong hold that lasts all day. Unlike glue, tape is easier to apply and remove, making it ideal for beginners.
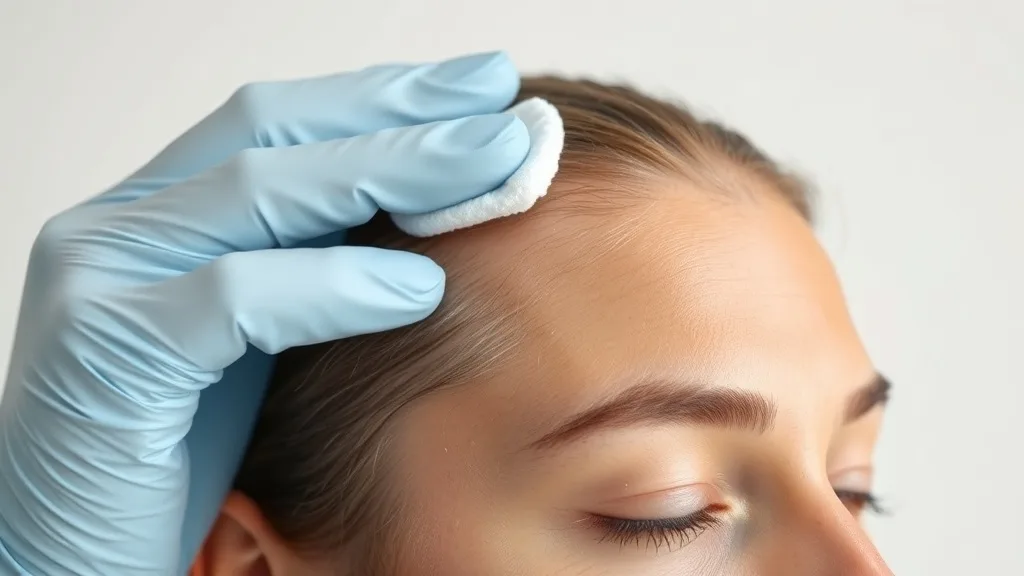
Step 1: Prepare Your Skin
Preparation is key—and yes, that means washing your hairline. Use a gentle cleanser or alcohol wipe to remove oils, sweat, and any leftover residue. This helps the tape stick better and reduces irritation. Dry the area thoroughly. If you have sensitive skin, apply a light layer of scalp protector spray or a barrier cream. Let it dry completely before moving on.
- Cleanse with a mild, oil-free cleanser.
- Dry completely.
- Apply scalp protector if needed.
- Wait 30 seconds for the protector to dry.
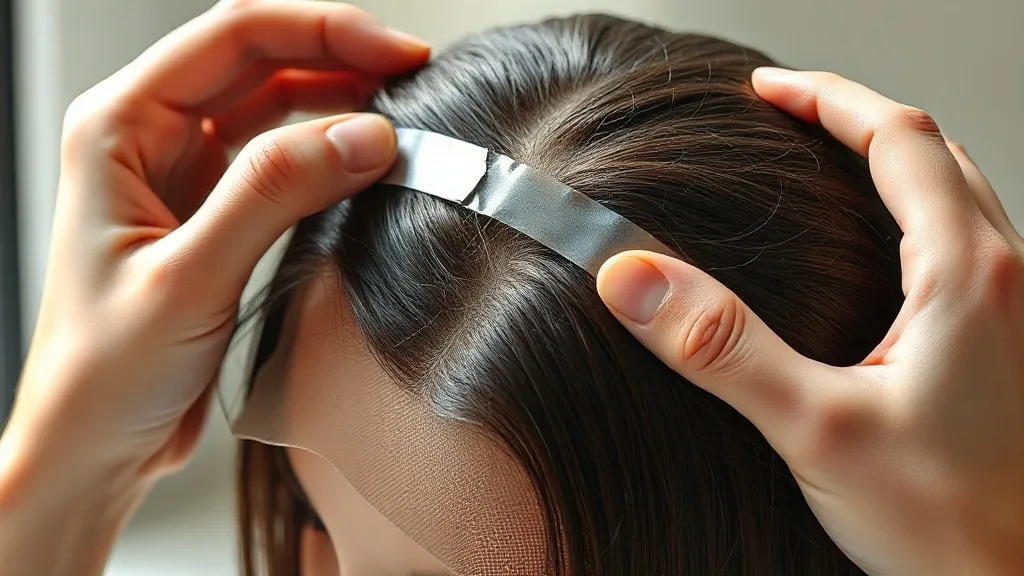
Step 2: Apply the Tape
Cut your tape into small strips—about 1–2 inches long. You’ll place them along your hairline, typically from ear to ear. Remove the backing from one side and press the tape firmly onto your skin. Then remove the top backing. Don’t touch the adhesive with your fingers too much; oils can weaken it. For extra hold, use a U-shape or a few strips around the crown.
Step 3: Attach the Wig
Position your wig carefully. Start at the front and press the wig’s edge onto the taped area. Use a comb or your fingers to smooth it down. Apply gentle pressure for 30–60 seconds to ensure a strong bond. If your wig has a lace front, make sure the lace is flush with your skin for a natural look.
Step 4: Removal and Care
When it’s time to take off your wig, use a specially formulated adhesive remover or a gentle oil-based product (like coconut or baby oil). Apply the remover along the edges and wait a minute for it to dissolve the tape. Slowly peel the wig away. Clean your wig and hairline with a gentle cleanser. Never pull the tape off dry—that’s a ticket to hair loss and damaged lace.
Tips for Beginners
- Do a patch test behind your ear before using any tape to check for allergies.
- Avoid applying tape directly on a fresh scar or irritated skin.
- Store your wig tape in a cool, dry place—heat can weaken the adhesive.
- Practice makes perfect; don’t be discouraged if your first application isn’t flawless.
- Always remove tape residue completely before reapplying.
With these steps, you’ll be taping like a pro in no time. Remember, even I messed up my first few tries—but now I can dance in the rain without a care. Happy wigging!