

Why Accurate Measurements Matter
When I lost my hair to chemo, the first wig I bought was too tight. It gave me headaches and never felt secure. I learned the hard way that measuring your head correctly is the key to a comfortable, natural-looking wig. Whether you're new to wigs or a seasoned wearer, taking the time to measure properly will save you frustration and help you feel confident. Let me walk you through it.
What You'll Need
- A flexible measuring tape (the kind used for sewing)
- A mirror (or a friend to help)
- A pen and paper to record measurements
- A hair clip or headband if you have long hair
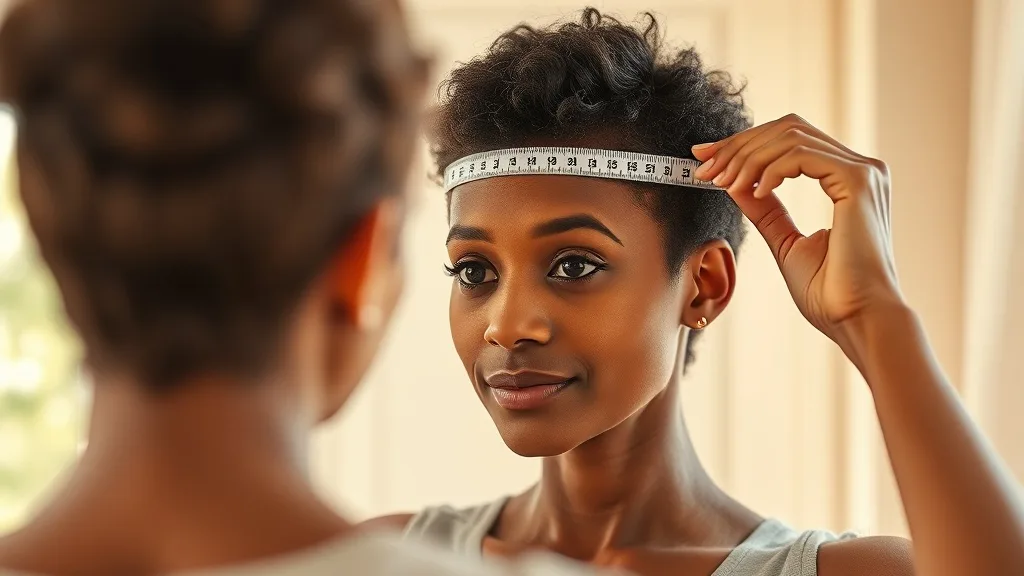
Step 1: Measure Your Head Circumference
This is the most important measurement. Place the measuring tape about 1/4 inch above your ears, across the middle of your forehead, and around the occipital bone at the back of your head (the prominent bump). The tape should be snug but not tight. Write down the number.
Step 2: Front to Nape
Place the tape at your hairline in the front center (where your forehead meets your scalp) and run it over the top of your head to the nape of your neck (the bony bump at the base of your skull). Keep the tape centered. This measurement is crucial for wig length.
Step 3: Ear to Ear Over the Top
Start at your hairline just above one ear, go over the top of your head, and stop at the same point above your other ear. This helps ensure the wig fits snugly over the crown.
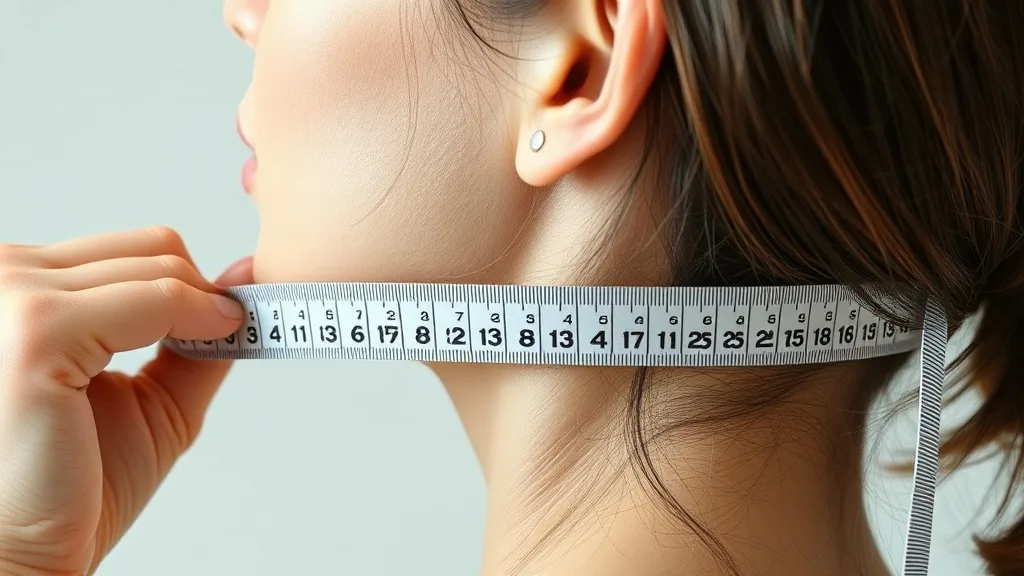
Step 4: Ear to Ear Around the Back
Measure from the same ear point as step 3, but this time go around the back of your head (just below the occipital bone) to the point above your other ear. This captures the circumference of the lower part of your head.
Step 5: Nape of Neck
Measure the width of your nape from one side to the other, just behind your ears. This ensures the wig's nape area won't gape or pinch.
Step 6: Temple to Temple (Optional)
Measure across the front of your head from temple to temple, just above your eyebrows. This helps wigs with lace fronts fit naturally.
What to Do With Your Measurements
Once you have all five key measurements, compare them to the wig size chart provided by the manufacturer. Most wigs come in small, medium, large, or petite. If you fall between sizes, go with the larger size and use adjustable straps or wig grip for a snug fit. Remember, wigs can be tightened but not stretched.
Pro Tips from a Pro
- Measure your head when your hair is flat (no volume) or with a wig cap on.
- Take measurements twice to ensure accuracy.
- If you're between sizes, always choose the larger option—you can adjust smaller.
- Don't pull the tape too tight; you want the wig to be comfortable for all-day wear.
I remember measuring my own head for the first time—it felt empowering. Knowing exactly what size I needed gave me the confidence to order wigs online without fear. You deserve that same peace of mind. Take your time, be gentle with yourself, and remember that a perfect fit is the foundation for feeling fabulous.
Final Thoughts
Measuring your head for a wig is a simple skill that will serve you for years. Whether you're dealing with medical hair loss or just exploring new styles, a well-fitted wig makes all the difference. If you have any questions, reach out to our Wigplace community. We're here for you.