Whether you're channeling a character with gravity-defying hair or just want a more natural look, mastering wig density is a game-changer. As a wig designer for anime conventions, I've seen wigs in every color of the rainbow—and I know that density can make or break a cosplay. Let's dive into how you can customize your wig's density to get that perfect balance of volume and realism.
What Is Wig Density?
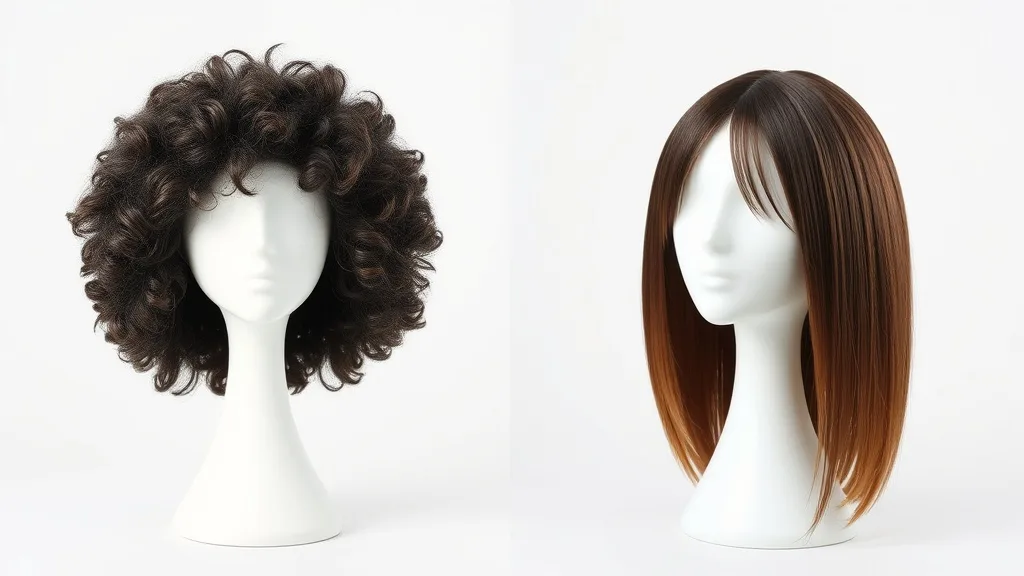
Wig density refers to how thick or thin the hair fibers are on the wig cap. Measured in percentages (e.g., 100%, 130%, 150%), standard wigs usually come in around 130% density. But every face shape and character calls for something different. Too much density can look helmet-like; too little can look sparse. That's where customization comes in.
Tools You'll Need
- A wig stand or head form (preferably adjustable)
- Fine-tooth comb or wig brush
- Tweezers (sharp, angled tweezers work best)
- Small scissors or thinning shears
- Steamer or fabric steamer (optional for reshaping)
- Hair clips to section the wig
- A spray bottle with water (for detangling)
Technique 1: Plucking for a Natural Hairline
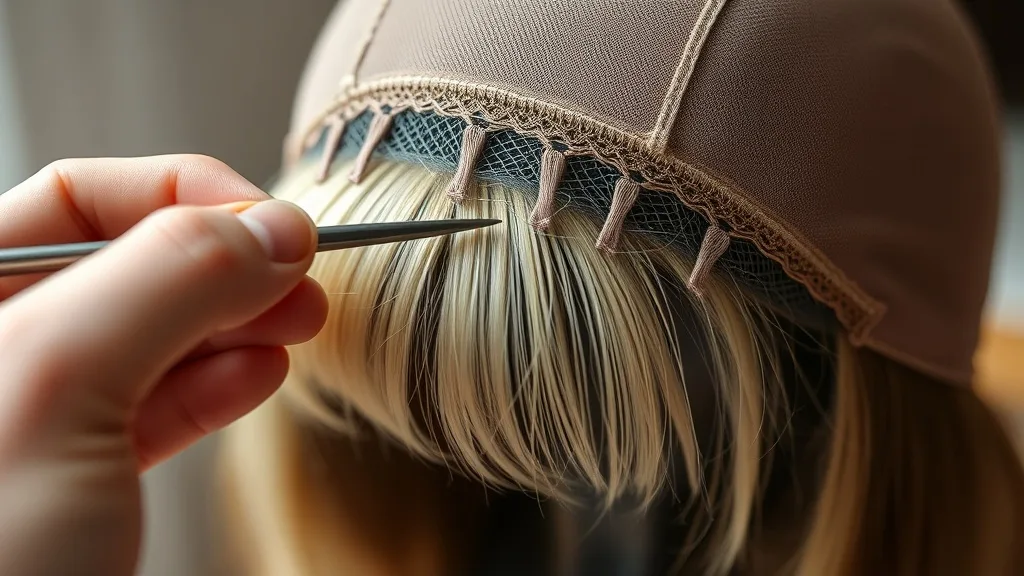
The most common way to reduce density is by plucking. This is essential for creating a realistic hairline—especially if you plan to wear the wig without bangs. Start by placing the wig on a stand. Use clips to section off the top layer of hair. Working in small rows, use tweezers to pluck out individual hairs from the lace or wefts. Focus on the front edge and part line. Remember: it's easier to pluck more than to add back, so go slow. I like to create a soft, irregular pattern—nature isn't perfect, so your wig shouldn't be either.
Technique 2: Thinning with Shears
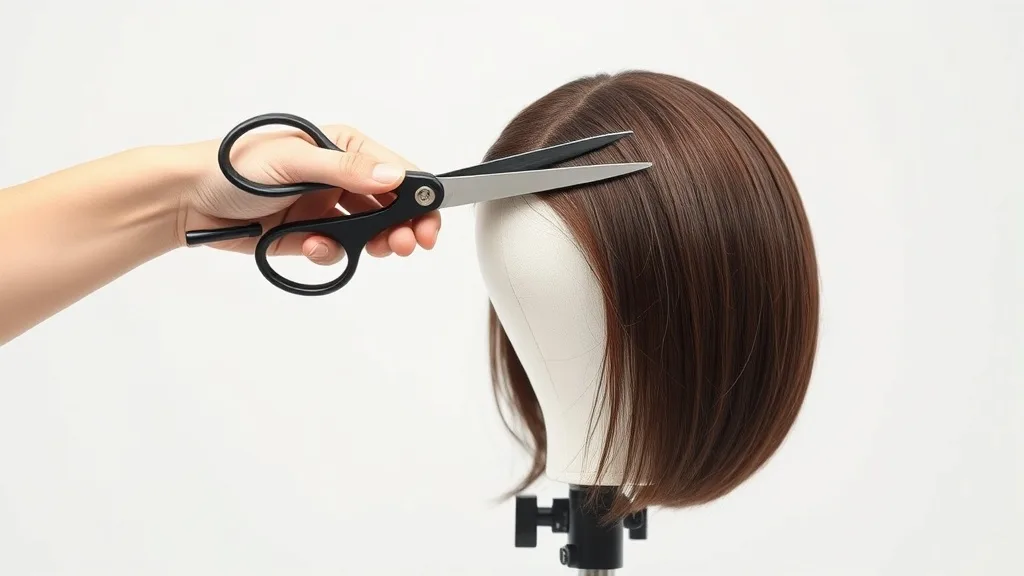
If you need to reduce overall bulk, thinning shears are your best friend. These special scissors have teeth on one blade and a solid blade on the other, cutting some hairs while leaving others. To use them: section the wig, hold the hair perpendicular to the cap, and make small snips about 2-3 inches from the base. Never cut too close to the wefts—you might expose the cap. After thinning, use a regular comb to blend. Pro tip: test on a small, hidden area first. Different fiber types behave differently.
Technique 3: Adding Volume (Yes, You Can Go Thicker Too!)
What if your wig is too thin? You can add density by sewing in extra wefts or using clip-in hair extensions. For a temporary fix, try backcombing (teasing) the hair at the roots. This works wonderfully for styling fluffy or spiky anime hair. To backcomb: take a small section, hold it taut, and comb downwards toward the base in short strokes. Smooth the outer layer with a comb to hide the teasing. This method can give instant volume without permanent changes.
Steaming and Reshaping
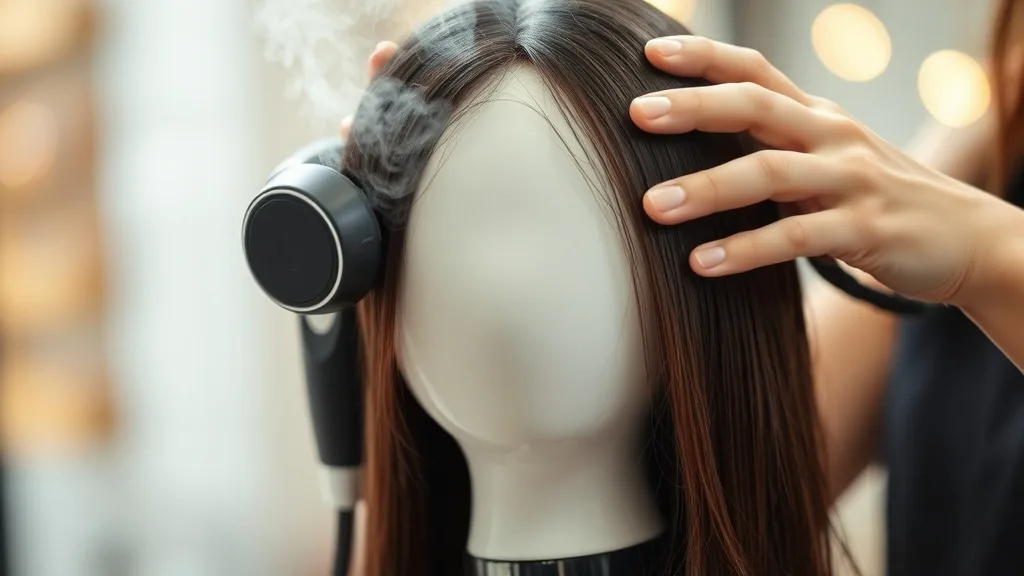
Sometimes density issues are really about shape. A heavy wig can be lightened by reshaping with steam. Use a handheld steamer to soften the fibers, then style them into a more flattering silhouette. For example, creating a side part can redistribute hair and make the wig appear denser where you want it. Always let the wig cool completely to set the shape.
Care and Maintenance
After customizing, your wig needs extra TLC. Avoid overbrushing, which can stretch the fibers and create frizz. Store it on a stand to maintain the density adjustments. If you used plucking, the lace might need a light layer of concealer or matte powder to blend with your skin. And always wash your wig with cool water and a gentle shampoo—never scrub aggressively.
Putting It All Together
Customizing wig density is an art, but anyone can learn it. Start with a small project—maybe an old wig you don't wear anymore. Experiment with plucking and thinning. Before you know it, you'll be able to tailor any wig to your exact vision. Whether you want a barely-there natural look or a full-on fantasy mane, you've got the power to create it.
For more tips and top-quality wigs perfect for customization, check out Wigplace's collection. Happy styling!