
Introduction: Why Adhesives Matter
Whether you're a seasoned wig wearer or a newbie, one thing is certain: the right adhesive can make or break your experience. I've tested dozens of adhesives over the years, from cheap drugstore options to high-end professional products. The truth is, there's no one-size-fits-all solution. Your choice depends on your scalp sensitivity, lifestyle, and the type of wig you wear. In this article, I'll share what I've learned so you can make an informed decision and avoid the pitfalls I encountered.
Types of Wig Adhesives
Wig adhesives fall into several categories, each with its own strengths and weaknesses. Let's break them down.
1. Adhesive Tapes
Tapes are the most beginner-friendly option. They come in double-sided strips that you apply to your scalp or wig cap. They're great for daily wear and provide a strong hold without the mess of liquids. However, they may not work well for very active lifestyles or in hot, humid weather.
2. Liquid Adhesives
Liquid adhesives, such as scalp protectors and bonding glues, offer a more secure hold that can last for days. They require careful application and removal to avoid skin irritation. I recommend doing a patch test before full use, especially if you have sensitive skin.
3. Adhesive Glues
Glues are similar to liquids but often thicker and stronger. They are ideal for long-term wear (up to 2-4 weeks). However, removal can be challenging and may require special solvents. These are best for experienced users.
4. Adhesive Gels and Pastes
Gels and pastes offer a middle ground. They provide a flexible hold that is comfortable for sensitive scalps. They are water-resistant and easy to remove with water. I often use these for summer events.
How to Choose the Right Adhesive
When selecting an adhesive, consider your activity level, how long you need the wig to stay in place, and any skin reactions. For everyday wear, tapes or gels are often sufficient. For special occasions or active days, opt for liquid or glue. Always test a small area first.
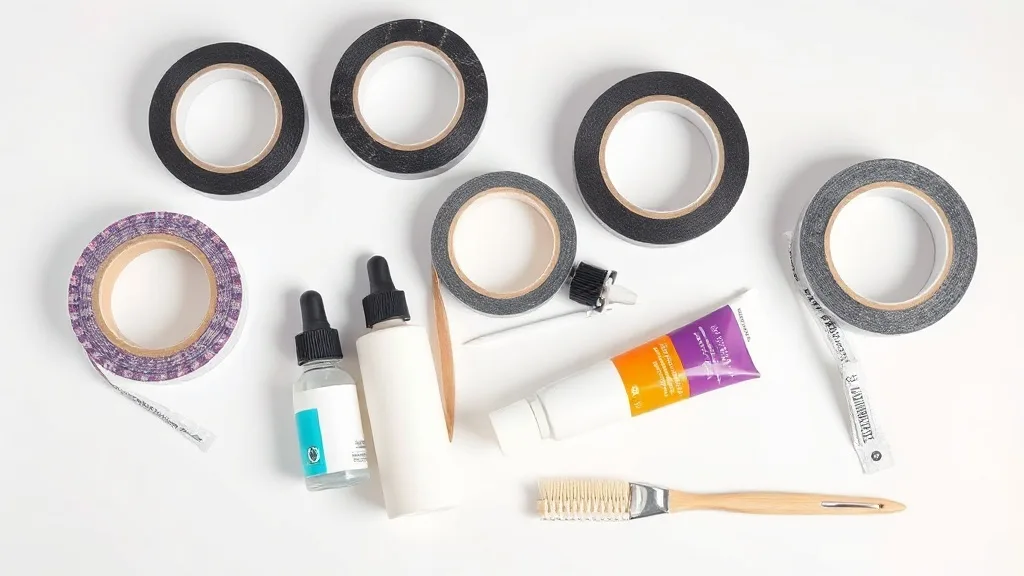
Application Tips for a Secure Fit
- Clean your scalp thoroughly with alcohol-based prep pads to remove oils.
- Apply a thin, even layer of adhesive—more is not better.
- Wait for the adhesive to become tacky (usually 30-60 seconds) before placing the wig.
- Press firmly and hold for 10-15 seconds to ensure bonding.
- Allow the adhesive to cure for at least 10 minutes before styling.
Removal and Aftercare
Removing adhesive is just as important as applying it. Use a specialized adhesive remover (avoid rubbing alcohol as it can dry out the wig). Gently lift the wig from the edges, working your way inward. Clean any residue from both the wig and your scalp. Always moisturize your scalp after removal.
Common Myths About Wig Adhesives
- Myth: Stronger adhesive means longer wear. Fact: Skin sensitivity is the limiting factor, not the glue's strength.
- Myth: You can reuse adhesive. Fact: Adhesive loses its grip after removal; always apply fresh product.
- Myth: Allergies are rare. Fact: Many people develop reactions over time due to repeated exposure.
Final Thoughts: Practice Makes Perfect
Finding your perfect adhesive takes time. Don't get discouraged if your first attempt isn't perfect. Start with removable options like tapes and gradually experiment with stronger bonds. Remember, your comfort and scalp health come first. I keep a small emergency kit with extra tape and remover in my bag—you never know when a touch-up is needed.
Ultimately, the truth about wig adhesives is that there's no magic bullet. But with the right knowledge and a bit of practice, you can achieve a secure, natural-looking hold that lasts. Happy wig-wearing!